Follow Me On Social Media!

How to Grow Micro Sprouts for Fresh, Flavorful Meals
Introduction to How to Grow Micro Sprouts
Imagine walking into your kitchen and being greeted by a burst of vibrant colors and fresh flavors, all thanks to your very own thriving micro sprout garden. Growing micro sprouts is not just a trend; it’s a simple yet rewarding way to enhance your meals while adding a boost of nutrition. These tiny greens pack a punch, offering more vitamins, minerals, and antioxidants than their mature counterparts. Picture crisp, lively greens that not only elevate your dishes aesthetically but also provide a delightful crunch and depth of flavor.
The best part? Micro sprouts require minimal effort and space, making them perfect for young professionals living in apartments or busy lifestyles. With just a few seeds and some water, you can create a garden full of vitality on your kitchen counter. Whether you enjoy adding them to salads, sandwiches, or smoothies, growing micro sprouts opens up a world of culinary possibilities.
What Makes Micro Sprouts So Special?
Micro sprouts come from a wide variety of vegetables, herbs, and even legumes. Here’s what makes them stand out:
- Nutrient Density: According to studies, micro greens can contain up to 40 times the nutrients of mature plants. This means you’re getting more vitamins and minerals in each bite.
- Flavorful Variety: From delicate basil to spicy radish, there’s a micro sprout to suit every palate. This allows for a dynamic range of flavors in your dishes.
- Quick Harvest: Most micro sprouts are ready to eat in just 7 to 14 days. You don’t have to wait months to enjoy the fruits of your labor, making it incredibly satisfying.
- Environmental Benefits: Growing micro sprouts uses less water and space compared to traditional gardening. It’s an eco-friendly choice that can be done year-round indoors.
- Versatile Use: These tiny greens can be sprinkled on various meals, from breakfast omelets to gourmet entrees. The garnish not only looks great but enhances nutrition and flavor.
By the end of this guide, you’ll be fully equipped on how to grow micro sprouts, transforming your cooking experience with fresh, homegrown ingredients. Looking forward to adding those greens to your culinary creations? Let’s dive into the step-by-step process!
Key Ingredients for Growing Micro Sprouts
Micro sprouts are tiny nutrition-packed greens that can elevate any meal. Cultivating your own micro sprouts at home can be not only rewarding but also a delightful experience. To get started with how to grow micro sprouts, consider these essential ingredients and factors:
-
Seeds: Choosing the right seeds is fundamental. Opt for high-quality, organic seeds specifically meant for sprouting, such as alfalfa, radish, or broccoli. These varieties tend to sprout quickly and are rich in flavor.
-
Water: Clean, filtered water is crucial for the sprouting process. It helps to hydrate the seeds, ensuring they germinate effectively. Be sure to rinse your seeds thoroughly before soaking and sprouting.
-
Containers: A suitable growing medium can be a jar, tray, or even a specialized sprouting kit. Make sure the container allows for proper drainage and airflow—this promotes healthy growth and reduces the risk of mold.
-
Light: Once your sprouts emerge, they thrive in indirect sunlight. Ensure they’re getting enough light for vibrant growth, but avoid harsh direct sunlight, which can stunt their development.
-
Temperature: Aim for a warm and consistent temperature (around 70°F) to encourage sprouting. A cozy spot in your kitchen can work wonders!
By understanding these key ingredients, you’re on your way to mastering how to grow micro sprouts that can transform your culinary creations!
Why You’ll Love This Recipe
Growing your own micro sprouts not only makes for a rewarding hobby but also infuses your meals with incredible flavor and nutrition. Picture this: you’ve had a long day, and you’re craving something fresh and vibrant. Imagine gathering your homegrown micro sprouts—little bursts of greens—garnishing your dishes, and elevating your everyday meals in an instant.
One of the reasons you’ll absolutely adore learning how to grow micro sprouts is their astonishing growth speed. In just a week or so, you can transition from seed to harvestable greens. It’s a fulfilling process that keeps you connected to your food and can fit into any tight schedule—perfect for busy professionals!
Let’s not forget about the health benefits. Micro sprouts are often packed with nutrients, often containing higher concentrations of vitamins and minerals compared to their mature counterparts. Incorporating these into your diet can lead to improved health and wellness.
Plus, nurturing your own food can be surprisingly therapeutic. With a little water and patience, you can watch these tiny seeds sprout and flourish. It’s a simple act that provides satisfaction and delicious results. So roll up your sleeves and dive into this gratifying journey of growing micro sprouts!
Variations of Micro Sprouts
When you dive into how to grow micro sprouts, you’re opening the door to a world of vibrant flavors and incredible health benefits that can easily transform your everyday meals. Imagine a meal garnished with fresh, crunchy greens that not only look beautiful but are packed with nutrients.
Radish Sprouts
If you love a little kick, radish sprouts are a no-brainer. Their peppery flavor can elevate salads or sandwiches, adding an unexpected zest. Plus, they’re super easy to grow!
Broccoli Sprouts
These tiny greens are powerhouses of nutrition, boasting high levels of sulforaphane, which is known for its cancer-fighting properties. Sprinkle them on your breakfast eggs or blend them into smoothies for a boost of health.
Pea Shoots
Sweet and delicate, pea shoots have a mild taste that pairs well with just about any dish. They thrive in various grow mediums and can be harvested sooner than you might expect.
Sunflower Sprouts
For a nutty twist, try sunflower sprouts. Their crunchy texture and rich flavor make them an excellent addition to stir-fries or grain bowls. They also make snacking a delightful experience!
Beet Greens
With their vibrant color, beet greens can indeed make any dish pop! Their earthy flavor is great in salads, offering not just visual appeal, but a nutrition boost as well.
Embracing these variations can make your journey of how to grow micro sprouts even more exciting. Each type brings its own unique palette of flavors and health benefits, so why not experiment and see which ones you love most?
Cooking Tips and Notes for Micro Sprouts
Getting into the world of micro sprouts offers a delightful culinary adventure that’s both nutritious and surprisingly fun. Here are some useful tips to ensure your experience of how to grow micro sprouts is both successful and enjoyable.
Choosing the Right Seeds
- Varieties Matter: While alfalfa and radish are popular choices, don’t shy away from experimenting with less common seeds like broccoli or sunflower. Each brings a unique flavor and nutrient profile.
- Seed Source: Ensure you’re using high-quality seeds intended for sprouting. Look for organic or non-GMO varieties to enjoy the best results.
Watering Wisely
- Initial Soaking: Before starting, soak your seeds for 4 to 8 hours. This jumpstarts the germination process and ensures quicker growth.
- Draining is Key: After soaking, make sure to rinse and drain thoroughly. Sprouts don’t like sitting in water, which can lead to mold.
Light and Environment
- Sunlight Sensitivity: Most sprouts thrive in indirect light. A sunny windowsill is perfect; just avoid direct sunlight which can overheat them.
- Temperature Check: An ideal temperature range of 65-75°F will encourage optimal growth.
Timing and Harvesting
- Growth Duration: Depending on the variety, expect to harvest between 5 to 14 days. Monitor them closely; you want them fresh and vibrant, not overgrown.
- Storage Tips: Post-harvest, store sprouts in a sealed container in the fridge. They typically last up to a week, but enjoy them fresh for optimal flavor.
With these tips, your journey in learning how to grow micro sprouts will not only yield delicious results but will also be a nurturing process for your culinary skills. Happy sprouting!

Serving Suggestions for Micro Sprouts
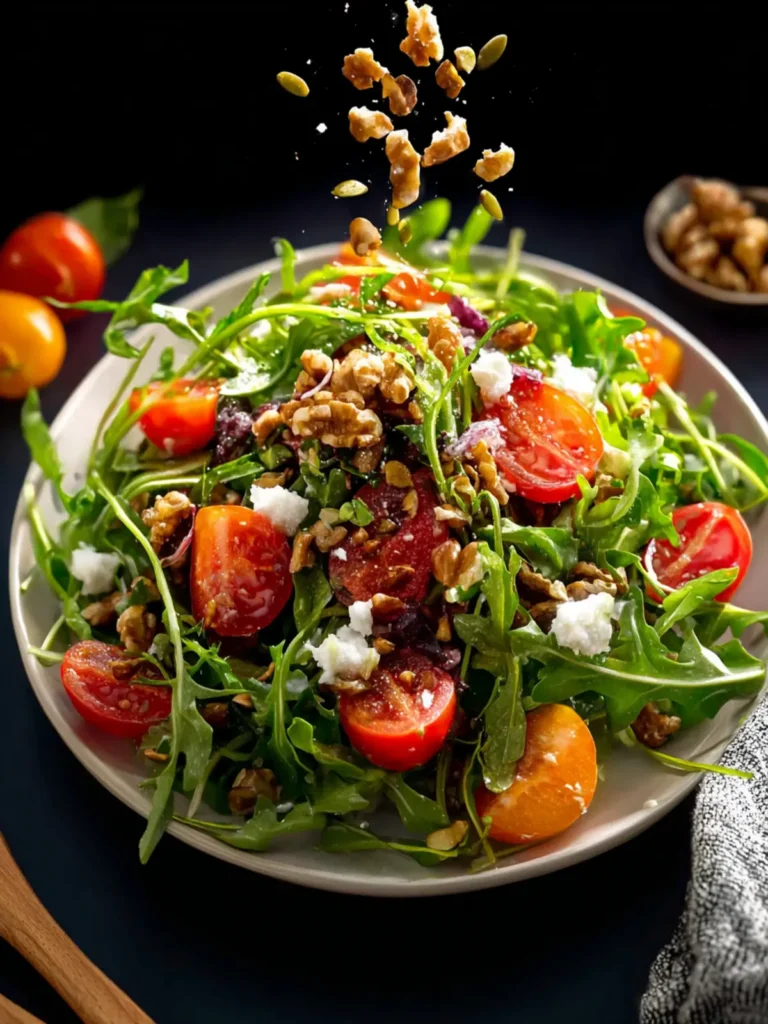
Unlocking the potential of your homegrown micro sprouts can elevate your meals in incredible ways. Picture a vibrant salad featuring colorful sprouts, adding both visual appeal and nutritional punch. Here are some delightful ways to serve these tiny, yet robust greens:
-
Topping for Sandwiches: Sprinkle micro sprouts on sandwiches for an added layer of texture and a nutrient boost. They pair beautifully with avocado and hummus.
-
Garnish for Soups: Use micro sprouts as a garnish for soups and stews. Their fresh, crunchy element can brighten up a cozy bowl of creamy tomato soup or a hearty vegetable broth.
-
Enhancing Bowls: Elevate your grain bowls! Toss micro sprouts onto quinoa or brown rice bowls alongside roasted veggies for a complete meal.
-
In Breakfast Dishes: Incorporate them into your morning routine by adding micro sprouts to scrambled eggs or omelets, giving your breakfast a fresh twist.
Whether you’re drizzling a dressing over a salad or creating a brunch masterpiece, exploring these serving suggestions will make your homegrown micro sprouts a star ingredient!
Time Breakdown for Growing Micro Sprouts
Growing micro sprouts is not just a rewarding experience but also incredibly quick. You’ll find that with just a few simple steps, you can enjoy these nutritious little greens in no time.
Preparation Time
To set everything up for growing micro sprouts, you’ll need about 10 minutes. Gather your seeds, a jar or tray, and water. It’s a simple process that doesn’t require much more than your attention.
Rinsing Time
After the initial soaking, you should rinse your seeds 1-2 times a day. Each rinsing session will take only about 1 minute. This is vital to ensure your sprouts thrive and remain healthy!
Total Time
From start to harvest, you’re looking at roughly 5-7 days until your delicious micro sprouts are ready. So, if you’re eager for those fresh greens, patience will pay off beautifully!
Nutritional Facts of Micro Sprouts
Micro sprouts are not just a trendy addition to your meals; they pack a dense nutritional punch that transforms ordinary dishes into extraordinary ones. These tiny greens, often overlooked, are true powerhouses when it comes to vitamins and minerals.
Calories
When it comes to calorie count, micro sprouts are impressively low, typically containing around 20 calories per cup. This quality makes them an excellent choice for those looking to add nutrition without additional calories.
Vitamins and Minerals
Micro sprouts offer a wealth of vitamins and minerals, including:
- Vitamin C: Essential for immune function and skin health.
- Vitamin K: Important for bone health and blood clotting.
- Iron: Crucial for oxygen transport in the blood.
- Calcium: Supports bone strength and muscular function.
With their concentrated nutrient content, incorporating micro sprouts into your diet provides a robust health boost, complementing your culinary adventures as you learn how to grow micro sprouts.
FAQs About Growing Micro Sprouts
Growing micro sprouts can be an enjoyable and rewarding experience, especially when you realize how fast and easy it is. If you’ve ever marveled at those vibrant greens at your local salad bar, you might be curious about how to grow micro sprouts at home. Let’s dive into some common questions that many aspiring sprout enthusiasts have!
How long does it take to grow micro sprouts?
Typically, you can expect your micro sprouts to be ready for harvest in about 7 to 14 days, depending on the type of seed you choose. For instance, radish and mustard seeds sprout quickly, often within a week, while others like sunflower seeds may take a bit longer, around 10 to 14 days. It’s all about patience and observing your sprouts’ growth daily. Nothing is more satisfying than seeing your little greens flourish!
Can I use any type of seed for sprouting?
Not all seeds are suitable for growing micro sprouts. While you can sprout many seeds, it’s best to select those explicitly labeled for sprouting, like alfalfa, broccoli, or pea seeds. These seeds have a higher germination rate and are typically more flavorful and nutritious. Always avoid seeds meant for gardening, as they might be treated with chemicals.
How should I store my micro sprouts after harvesting?
Once you’ve successfully harvested your micro sprouts, it’s essential to store them properly to maintain their freshness. Rinse your sprouts gently and let them dry completely. Then, place them in a container lined with a paper towel to absorb excess moisture. Store them in the refrigerator, where they can last up to a week. Just remember to check for any signs of spoilage before you enjoy your nutritious harvest!
Conclusion on Growing Micro Sprouts
In your journey of learning how to grow micro sprouts, the rewards are plentiful and delicious. Not only do they add a burst of flavor to meals, but they also pack a powerful nutritional punch.
By following the simple steps of soaking, rinsing, and nurturing your seeds, you’ll witness the magic of sprouting in just a week. Remember, patience is key!
- Experiment with different seeds like radish, pea, or broccoli to find your favorite.
- Consider the growing environment—light, temperature, and moisture all play a crucial role in sprout quality.
Enjoy the fresh, vibrant taste of your home-grown micro sprouts, and elevate your dishes effortlessly!
Print
Sprout Seeds
- Total Time: 7 days
- Yield: 2 jars of microgreens 1x
- Diet: Vegan
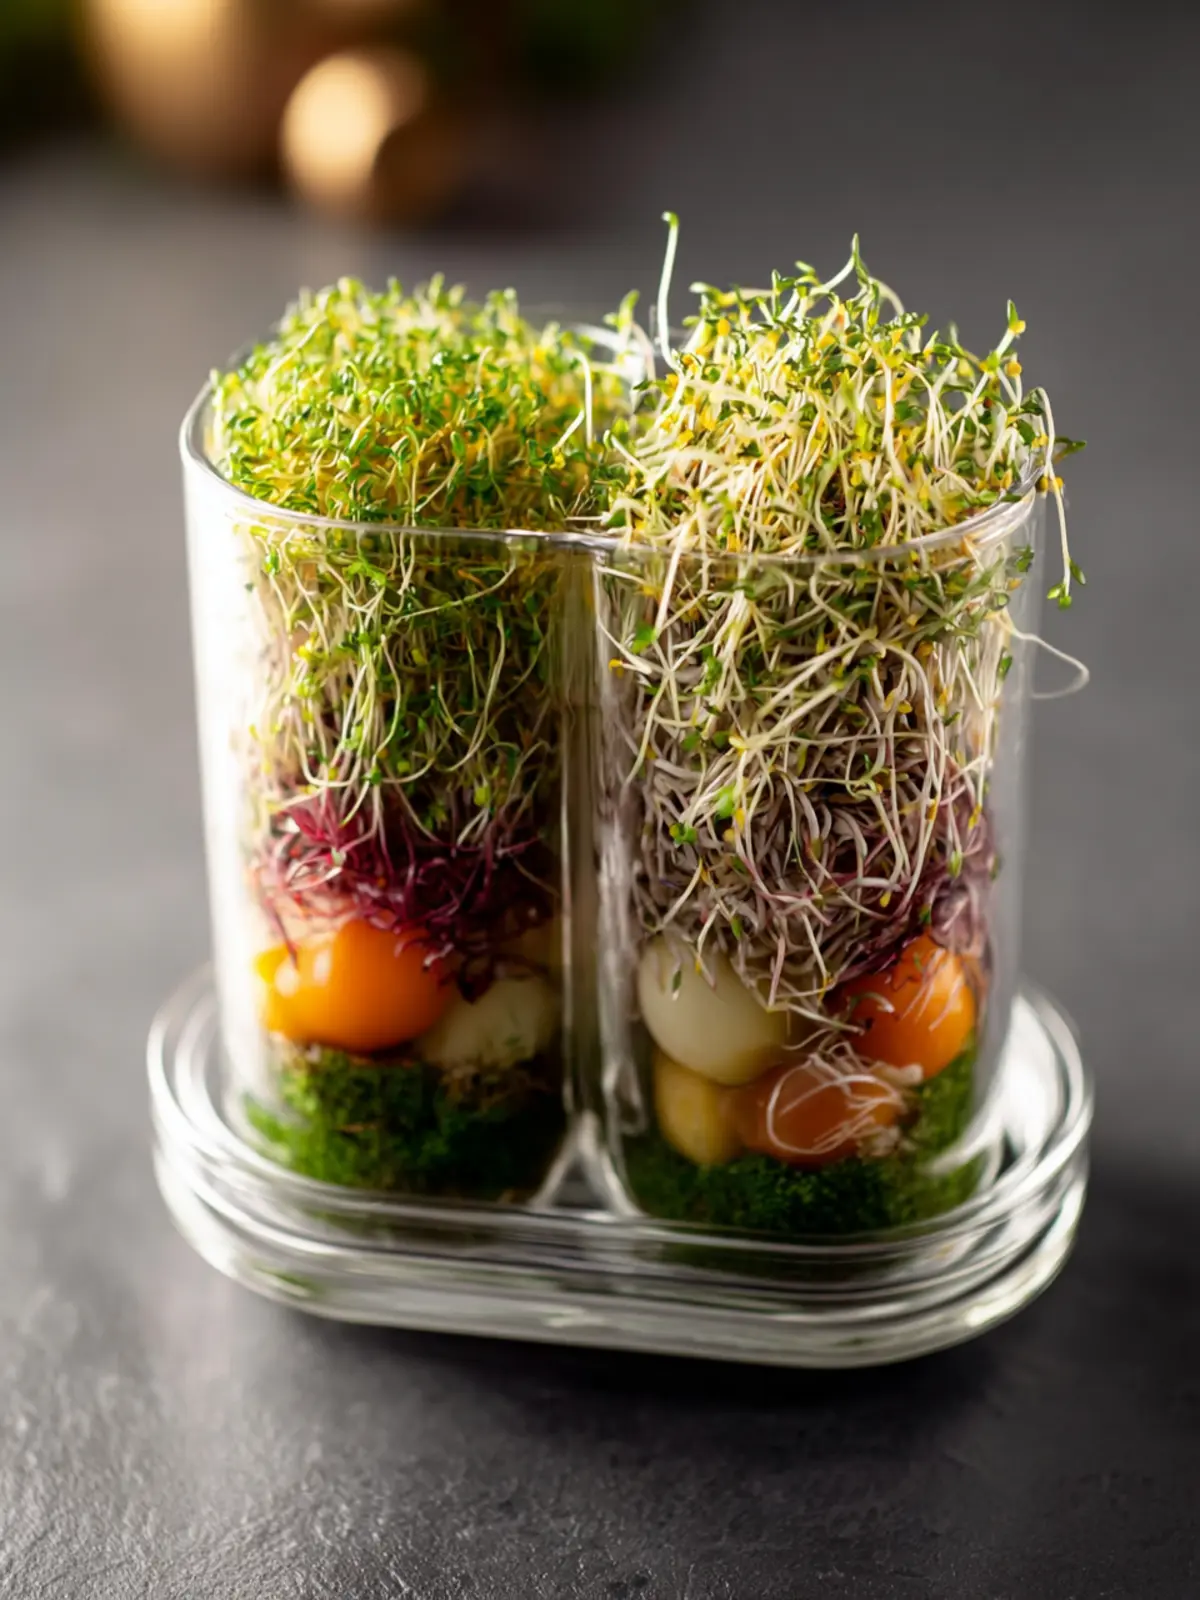
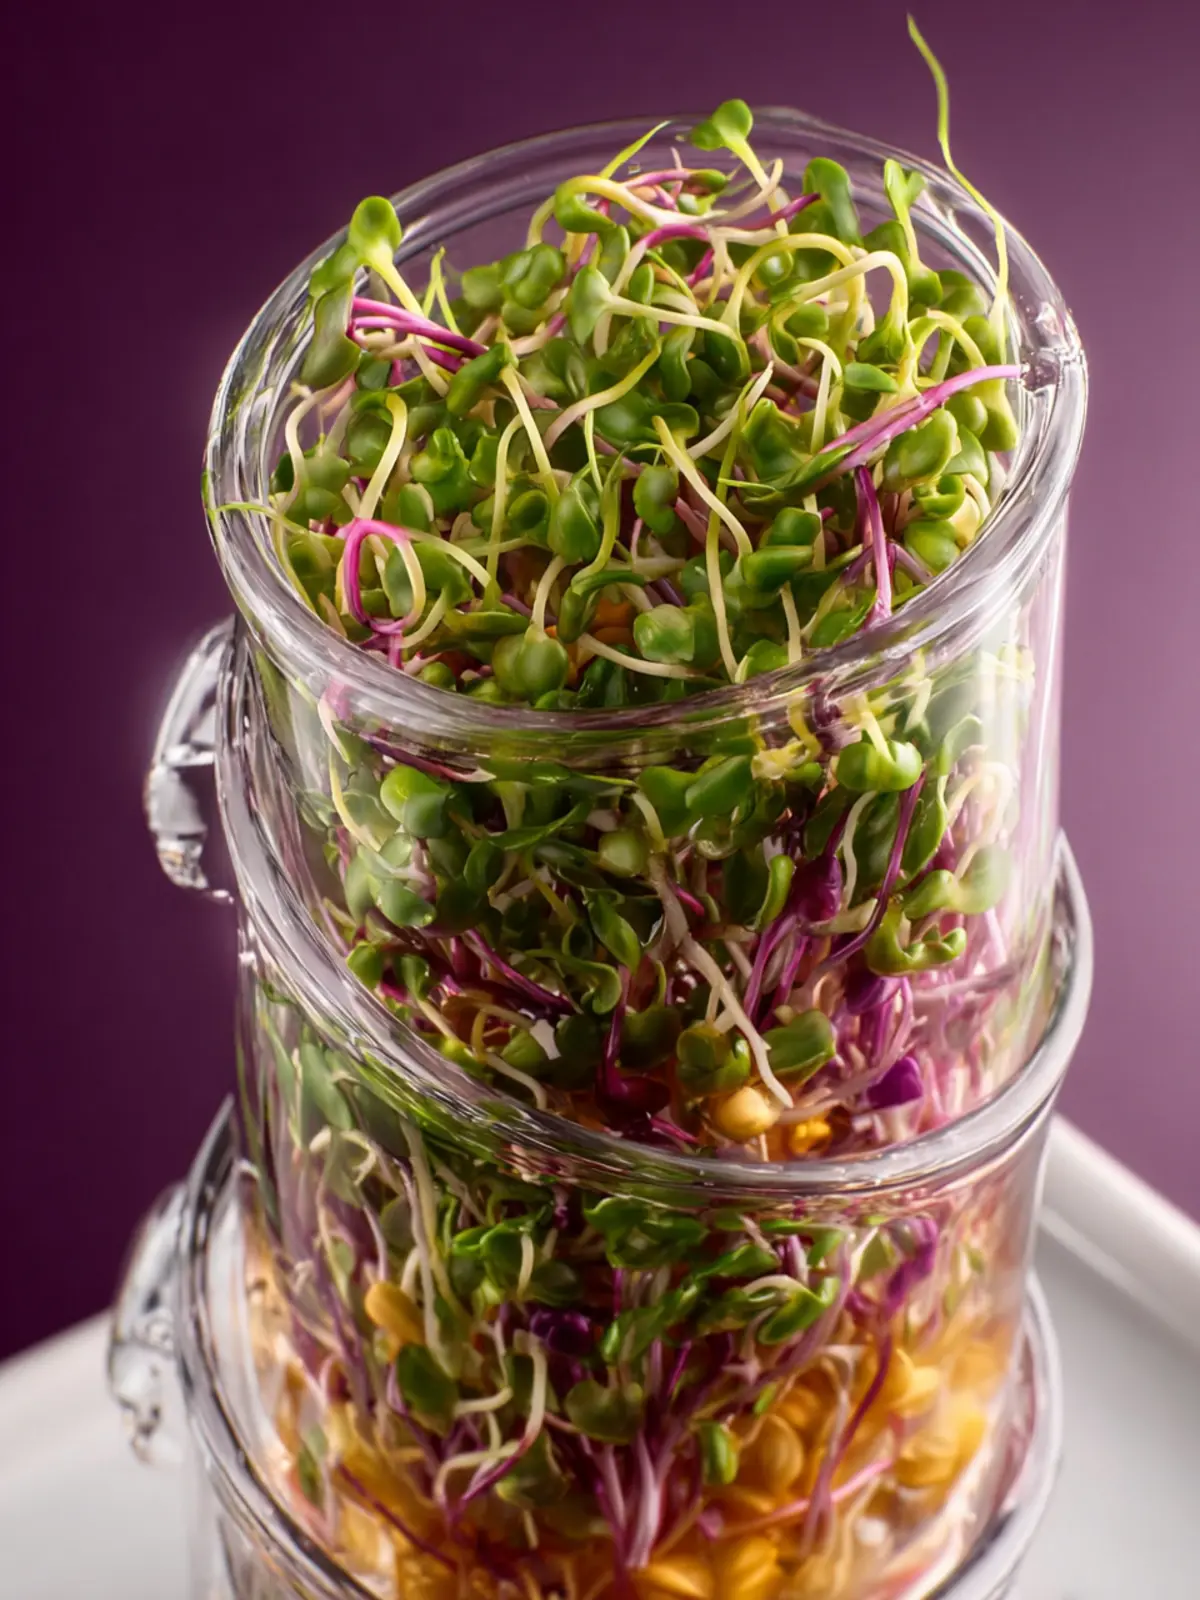
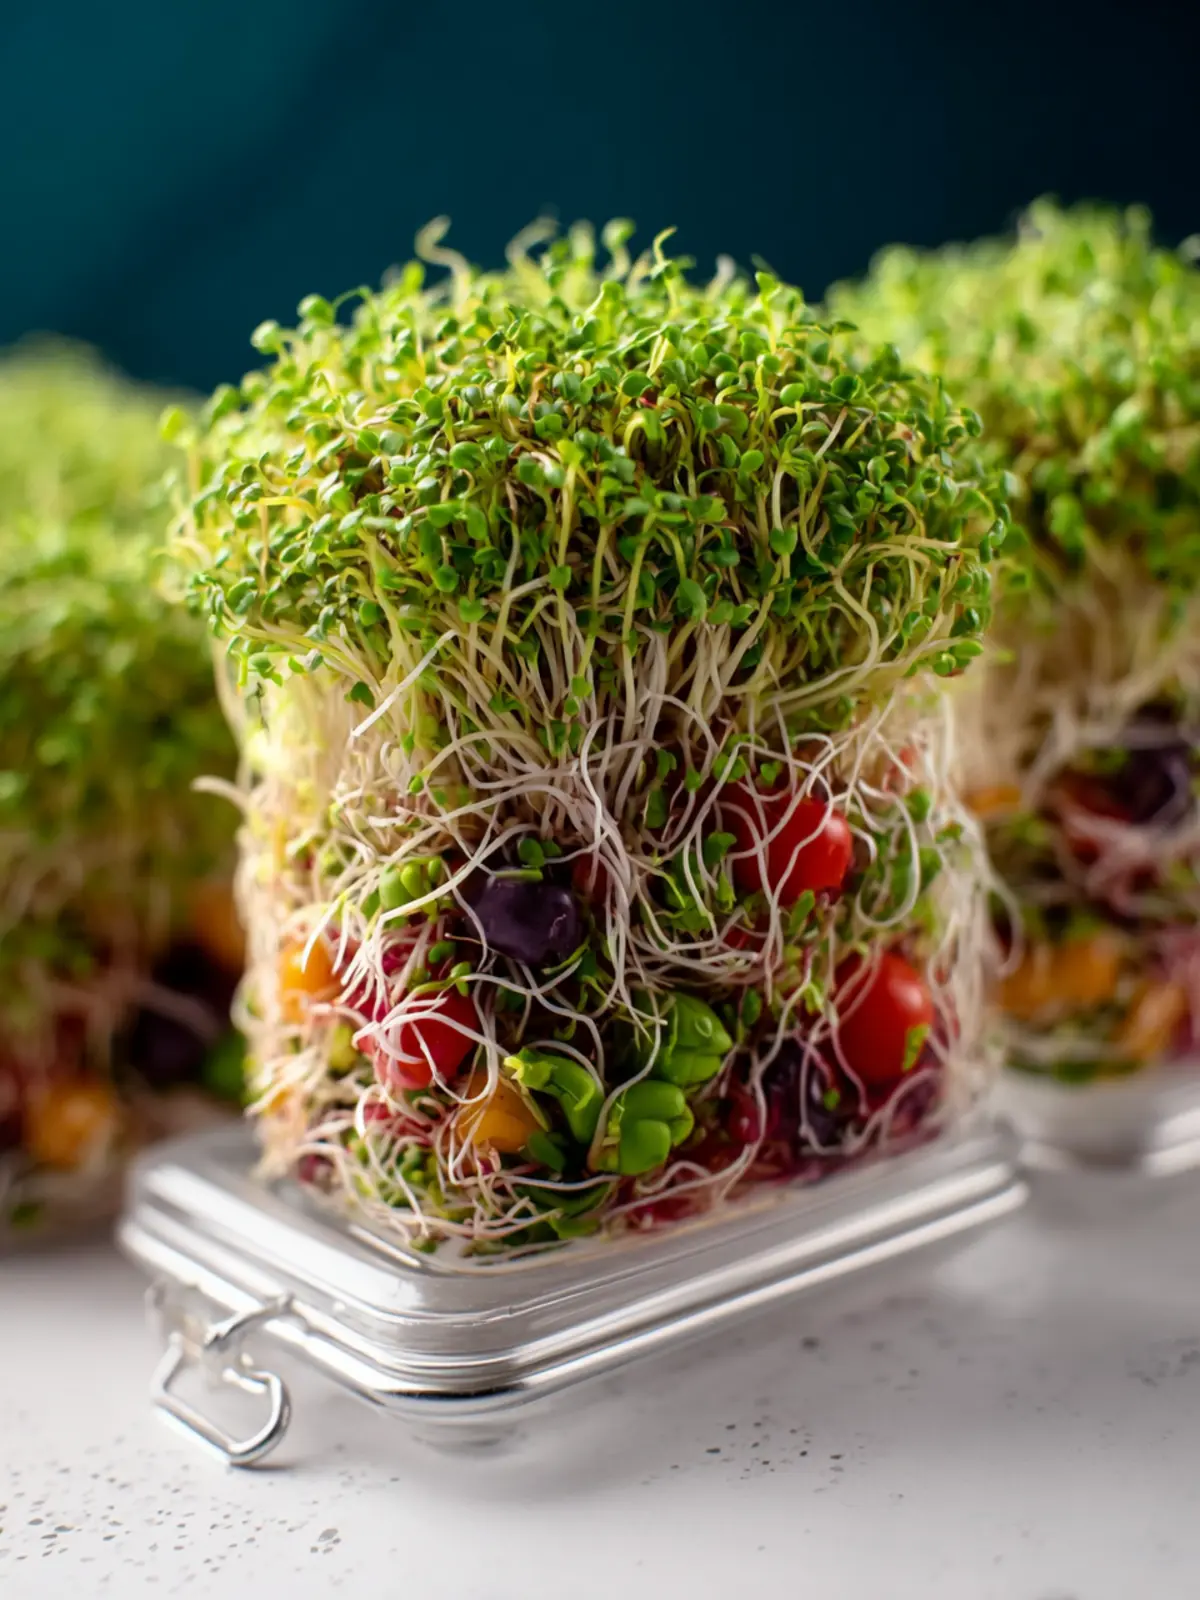
Description
I love this sprout kits all because they provided 2 large mason jars with a mesh netting lid so the water from rinsing daily could slowly drain out. This ensured that the container prevented growing mold or disease when sprouting.
Ingredients
Scale
- 2 large mason jars
Instructions
- Some seeds benefit from pre-soaking for a few hours to overnight to improve germination rates. Check seed packets for specific recommendations.
- We soaked overnight. The next morning, I rinsed out and drained the excess water.
- Gently roll the jar so the seed will stick to the sides.
- By day 3 you see your seeds really starting to sprout.
- Remember to rinse every morning and night.
- Keep the growing environment between 60-75°F.
- Once the seeds have germinated and started to grow, move them to a well-lit location, such as a sunny windowsill or fluorescent grow lights.
- Store any unused microgreens in the refrigerator to maintain freshness.
- By day 7 my mason jar was packed with beautiful micro greens.
Notes
- Ensure seeds are properly soaked for the best germination rate.
- Maintain a consistent rinsing schedule to prevent mold.
- Adjust light levels based on seed type for optimal growth.
- Prep Time: 2 hours
- Category: Gardening
- Method: Sprouting
Nutrition
- Serving Size: 1 jar