Follow Me On Social Media!


Easter Cookie Bars: Deliciously Soft and Easy to Make!
Introduction to Easter Cookie Bars
Easter Cookie Bars are a delightful creation that captures the very essence of springtime celebrations. Imagine biting into a bar bursting with vibrant colors, soft, chewy texture, and sweet surprises! These bars blend the flavors we love during Easter, like creamy chocolate and fruity notes, with a fun, shareable twist that makes them perfect for gatherings or a mid-afternoon treat. When the flowers bloom and the days grow longer, these cookie bars will brighten up your dessert table and spark joy among friends and family.
As we dive into the world of Easter Cookie Bars, it’s important to appreciate how they embody the spirit of the season. You may recall that Easter is often about family, togetherness, and fun activities—who doesn’t love an egg hunt or baking together? These cookie bars are a fabulous way to involve everyone in the kitchen while creating a stunning treat that everyone will be excited to dig into. The bright, colorful decorations not only make them visually appealing but also make them a canvas for creativity, allowing you to personalize each batch with unique toppings.
What makes Easter Cookie Bars the perfect treat for spring?
- Flexibility: Easter Cookie Bars are incredibly versatile. You can customize them with your favorite mix-ins such as pastel candies, nuts, or dried fruit, making every batch unique.
- Ease of Preparation: Unlike traditional cookies that require scooping and shaping, these bars come together quickly in a single pan. Just mix the ingredients, pour them in, and wait for that tantalizing aroma to fill your kitchen.
- Shareability: These bars are designed for sharing. Whether you cut them into small squares for a potluck or serve them as a centerpiece for your Easter brunch, they invite conversation and connection.
- Spring Flavors: Incorporate seasonal ingredients like lemon zest or fresh berries to evoke the freshness of spring, bringing a burst of flavor that complements the sweetness of chocolate and icing.
With all these wonderful qualities, it’s no surprise that Easter Cookie Bars have become a favorite amongst both seasoned bakers and those just beginning their culinary adventures. So grab your apron and let’s make some memories together!

Key Ingredients for Easter Cookie Bars
Easter Cookie Bars are a delightful treat that embody the spirit of springtime celebrations. The vibrant colors and rich flavors come together to create a dessert that will brighten any table. Let’s explore the key ingredients that make these bars truly special.
-
Butter: I use unsalted butter for that classic, comforting richness. It’s vital for keeping the bars moist and adds a luscious texture that complements the other ingredients beautifully.
-
Sugar: A mix of brown sugar and granulated sugar is essential in this recipe. The brown sugar provides a deep, caramel-like flavor, while the granulated sugar ensures the bars have that perfect sweetness.
-
Eggs: Eggs play a key role in binding the ingredients together and achieving that desirable chewy texture. I prefer using large eggs for consistency and optimal results.
-
All-Purpose Flour: This is the backbone of our cookie bars. It gives them structure and helps create that soft but firm bite.
-
Vanilla Extract: Adding pure vanilla extract elevates the flavor, giving your bars a comforting aroma and warmth.
-
Chocolate Chips and Sprinkles: The star of the show! I love incorporating semi-sweet chocolate chips for richness and rainbow sprinkles for a festive touch. These add pops of color and joy that are perfect for Easter celebrations.
Why You’ll Love This Recipe
Easter Cookie Bars bring the joy of Easter right into your kitchen, offering a delightful treat that’s perfect for any celebration. Imagine cutting into these bars and revealing vibrant colors and luscious flavors that capture the essence of the holiday, all crafted within minutes!
One of the best parts about this recipe is its simplicity. With minimal prep time, you can whip up a batch of these cookie bars and spend more time enjoying the company of friends and family rather than fussing over complicated steps. Plus, they look stunning on any dessert table, with their cheerful sprinkles and delightful layers.
These bars are not only visually appealing, but their taste is a crowd-pleaser. Each bite combines soft cookie goodness with the deliciousness of creamy frosting, leaving you craving more. And guess what? They’re easily customizable! Whether you prefer chocolate chips, nuts, or dried fruit, feel free to mix in your favorites to make them your own.
Lastly, Easter Cookie Bars are perfect for sharing—or keeping all to yourself as a sweet treat to enjoy. So, roll up your sleeves and get ready to create something that will surely become a beloved tradition!

Variations on Easter Cookie Bars
The delightful world of Easter Cookie Bars offers endless opportunities for creative twists that can make your dessert stand out during spring celebrations. Picture a colorful spread that not only tastes fantastic but also captures the spirit of the holiday—this shouldn’t just be about flavors; it should be an experience.
Colorful Additions
- To amp up the aesthetics, consider adding pastel-colored frosting drizzles atop your bars. A simple mix of powdered sugar and milk can give you that perfect icing for some Easter flair!
- Another fun touch? Try folding in colorful mini chocolate eggs or seasonal M&Ms into the batter for a surprising crunch in every bite.
Flavor Variations
- For a citrusy zing, lemon zest or orange zest mixed into the batter infuses your bars with freshness, complementing that sweet cookie flavor beautifully.
- Feeling adventurous? Swap out traditional chocolate chips for white chocolate or butterscotch for a flavor profile that surprises and delights.
Nutty Crunch
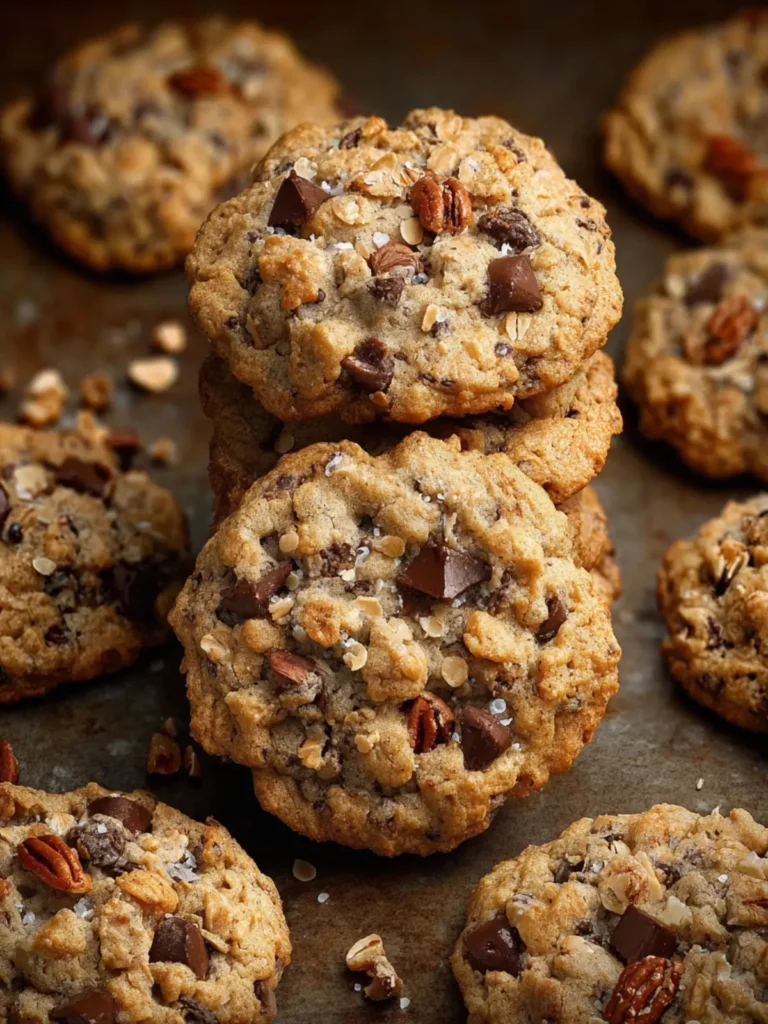
- If you’re a fan of a little texture, consider adding chopped nuts. Walnuts, pecans, or even almonds can lend a satisfying crunch that beautifully contrasts with the soft, chewy consistency of the bars.
Exploring these variations on your Easter Cookie Bars is all about bringing a personal touch while celebrating this joyful season. Each spin tells a story and adds a special memory to your holiday gatherings!
Cooking Tips and Notes for Easter Cookie Bars
Crafting Easter Cookie Bars is a delightful way to celebrate the season with vibrant flavors and festive colors. These bars not only taste fantastic, but they also lend themselves beautifully to personalization and decoration. Here are some friendly tips to help you create your perfect batch!
Perfecting the Texture
-
Butter: Use room temperature butter for easier creaming with sugars, resulting in a dense yet soft texture. If you forget to take it out in advance, a quick 15-second zap in the microwave can help, but avoid melting it completely.
-
Eggs: For the best rise and texture, ensure your eggs are at room temperature too. This helps incorporate air into the batter, making your bars fluffy rather than flat.
Flavor Boosters
-
Vanilla Extract: Don’t skimp on the vanilla; a good quality extract can elevate the flavor profile exponentially. If you’re feeling adventurous, consider adding a splash of almond extract for a unique twist.
-
Mix-ins: Feel free to customize your Easter Cookie Bars! Consider adding white chocolate chips, chopped nuts, or even dried fruits. These not only enhance flavor but add a lovely texture contrast.
Baking Tips
-
Check Doneness: To ensure your bars are perfectly baked, do the classic toothpick test. Insert it in the center—if it comes out clean or with only a few moist crumbs, you’re good to go!
-
Cooling Time: Let your bars cool in the pan for a bit before transferring them to a wire rack. This helps them set properly, making it easier to cut straight bars without crumbling.
With these tips, your Easter Cookie Bars will surely impress, making your celebrations even more memorable. Happy baking!

Serving Suggestions for Easter Cookie Bars
Crafting the perfect Easter festivities often calls for delightful treats, and Easter Cookie Bars can truly elevate your celebration! Here’s how to make the most of these scrumptious bars.
Perfect Pairings
-
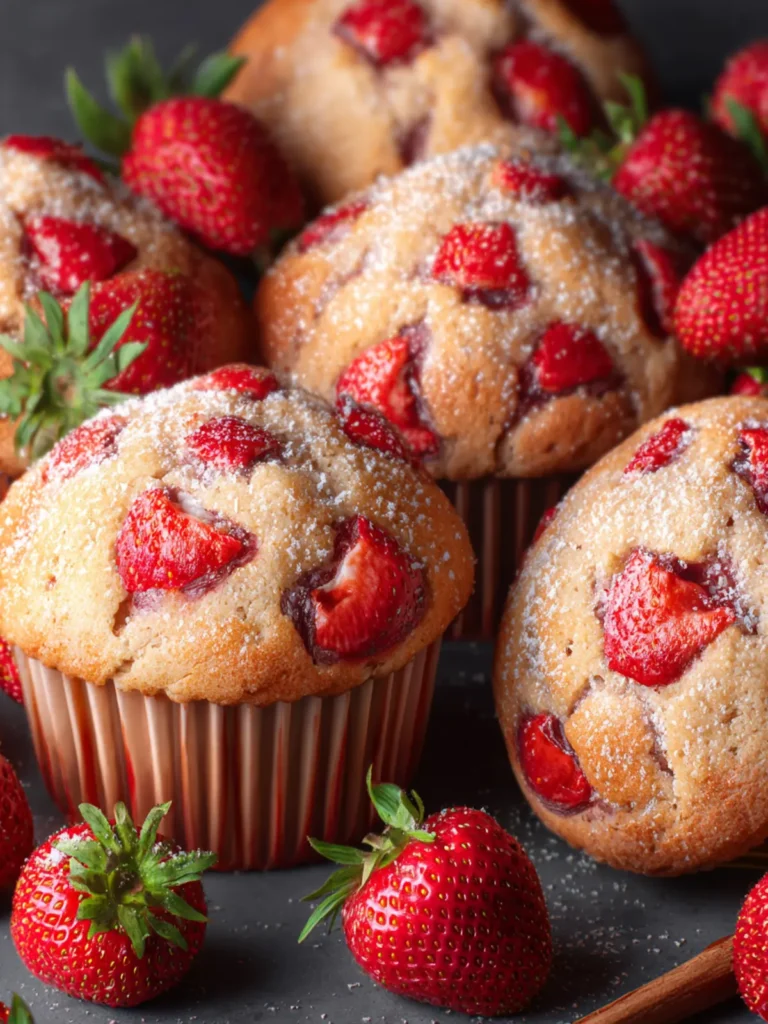
Fresh Fruit: Serve your Easter Cookie Bars alongside a platter of fresh fruit, like strawberries or blueberries. The natural sweetness and acidity of the fruit can balance the richness of the bars.
-
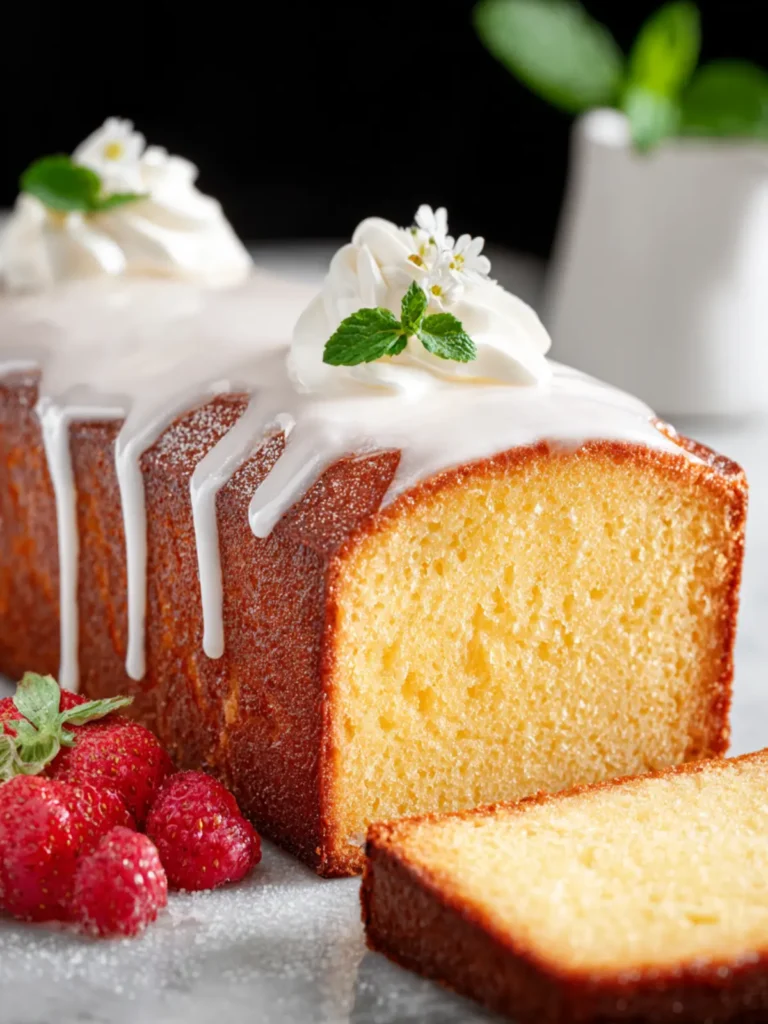
Whipped Cream or Ice Cream: Consider topping your bars with a dollop of whipped cream or a scoop of vanilla ice cream. The creaminess complements the cookie bars’ textures beautifully!
Ideal Beverages
-
Coffee or Tea: A warm cup of coffee or a refreshing herbal tea can enhance your dessert experience. The notes of chocolate and vanilla in the bars pair exquisitely with both.
-
Sparkling Water: If you’re feeling festive, serve them with sparkling water infused with lemon or lime. It’s a great way to cleanse the palate!
Decorative Touches
-
Easter-Themed Plates: Present your Easter Cookie Bars on colorful, themed plates to bring out the festive spirit.
-
Sprinkle Decorations: Adding extra sprinkles on top not only makes the bars look more appealing but also invites excitement.
We hope these serving suggestions help you create a memorable Easter celebration focused on sharing delicious moments!
Time Breakdown for Easter Cookie Bars
Baking Easter Cookie Bars is a delightful experience that brings the joy of the holiday to your kitchen. This easy-to-follow recipe saves time while still delivering a treat that’s perfect for sharing—and eating! Let’s dive into how you can effectively manage your time for this delicious dessert.
Preparation Time
Expect to spend approximately 15 minutes gathering your ingredients and preparing the batter. It’s a quick and straightforward process, allowing you to focus more on the fun part—decorating!
Baking Time
The baking process takes about 25 minutes. Your kitchen will soon be filled with the enticing aroma of freshly baked cookie bars, which will be well worth the wait!
Total Time
From start to finish, you’re looking at around 40 minutes. In less than an hour, you’ll have scrumptious Easter Cookie Bars ready to impress your friends and family. Enjoy making memories as you whip up this treat!
Nutritional Facts for Easter Cookie Bars
Easter Cookie Bars aren’t just delightful to eat; they also come packed with essential nutritional information that keeps our festive spirit both tasty and mindful. Knowing the nutritional profile can help you enjoy these treats without any guilt as you celebrate the season.
Calories
A serving of Easter Cookie Bars contains approximately 180 calories. This makes it an indulgent, yet manageable, option for dessert when you’re looking to satisfy that sweet tooth without going overboard.
Carbohydrates
Each bar provides about 26 grams of carbohydrates, primarily from the delicious combination of flour, sugar, and chocolate chips. This carbohydrate content gives you a quick boost of energy, perfect for those busy holiday moments.
Sugars
With 12 grams of sugar per serving, these bars deliver just the right amount of sweetness. It’s always nice to balance that sugar rush with some wholesome ingredients—which makes the Easter Cookie Bars a festive treat you can feel good about sharing!
FAQs about Easter Cookie Bars
When it comes to Easter Cookie Bars, it’s natural to have questions! These colorful treats not only make a delightful addition to your holiday table, but they also come with some practical considerations. Let’s dive into the most frequently asked questions to help you enjoy your baking adventure fully.
Can I make these cookie bars gluten-free?
Absolutely! You can easily swap the all-purpose flour in the Easter Cookie Bars recipe for a gluten-free 1:1 flour blend. Many find that using a blend specifically designed for baking yields great results without compromising texture or flavor. Just double-check that your other ingredients, like baking powder and sprinkles, are also gluten-free to ensure everyone can savor the treats!
How should I store leftover Easter Cookie Bars?
To keep your Easter Cookie Bars fresh, store them in an airtight container at room temperature for up to a week. If you live in a particularly humid area, you might consider refrigerating them. Just make sure you let them come back to room temperature before serving, as the flavors are more pronounced when enjoyed at that perfect warm stage!
Can I freeze Easter Cookie Bars?
Yes, you can freeze these delightful bars! Once they have cooled completely, cut them into squares and place them in a single layer on a baking sheet. Freeze them for about an hour, then transfer them to an airtight container or freezer bag. They can be stored in the freezer for up to three months. When you’re ready to enjoy, simply thaw them at room temperature or warm them slightly in the oven.
Enjoy your baking and happy Easter!
Conclusion on Easter Cookie Bars
To wrap up our delightful journey with Easter Cookie Bars, it’s clear that these treats embody the spirit of the holiday. Their chewy texture combined with the bright colors of spring makes them an appealing centerpiece for any celebration. Whether you’re enjoying them with loved ones or gifting them as a sweet surprise, each bite is a little celebration of flavor.
Baking these bars is not just about the steps but also about creating memories. As you pull them from the oven, you’ll understand why they’re destined to become a cherished tradition in your home. Enjoy the joy of the season with every delicious slice!
Print
M&M Cookie Bars
- Total Time: 32 minutes
- Yield: 12 servings 1x
- Diet: Vegetarian
Description
Delicious M&M cookie bars that are simple to make and perfect for any occasion!
Ingredients
Scale
- 1/4 cup butter (softened)
- 1 cup brown sugar
- 1 egg
- 1 teaspoon vanilla
- 1/2 teaspoon salt
- 1 teaspoon baking powder
- 1 1/2 cups flour
- 1 1/2 cups M&Ms (divided)
Instructions
- Preheat the oven to 325 degrees.
- Line a 9×13 baking sheet or glass pan with foil or parchment paper and spray with cooking spray.
- In a large bowl using a fork, beat butter and brown sugar until mixed well.
- Add egg and vanilla and continue mixing.
- Mix in salt and baking powder.
- Slowly stir in flour.
- Fold in 1 cup of M&Ms and spread batter on the prepared baking sheet.
- Bake for 20-22 minutes until center dough is done.
- Remove from oven and sprinkle with remaining M&Ms (press them into the cookie).
- Let cookie bars cool completely before cutting.
Notes
- Make sure to spread the batter evenly for uniform baking.
- Adjust the baking time depending on your oven’s performance.
- Prep Time: 10 minutes
- Cook Time: 20-22 minutes
- Category: Dessert
- Method: Baking
- Cuisine: American
Nutrition
- Serving Size: 1 bar
- Calories: 150
- Sugar: 10g
- Sodium: 200mg
- Fat: 6g
- Saturated Fat: 4g
- Unsaturated Fat: 1g
- Trans Fat: 0g
- Carbohydrates: 22g
- Fiber: 1g
- Protein: 2g
- Cholesterol: 20mg