Follow Me On Social Media!

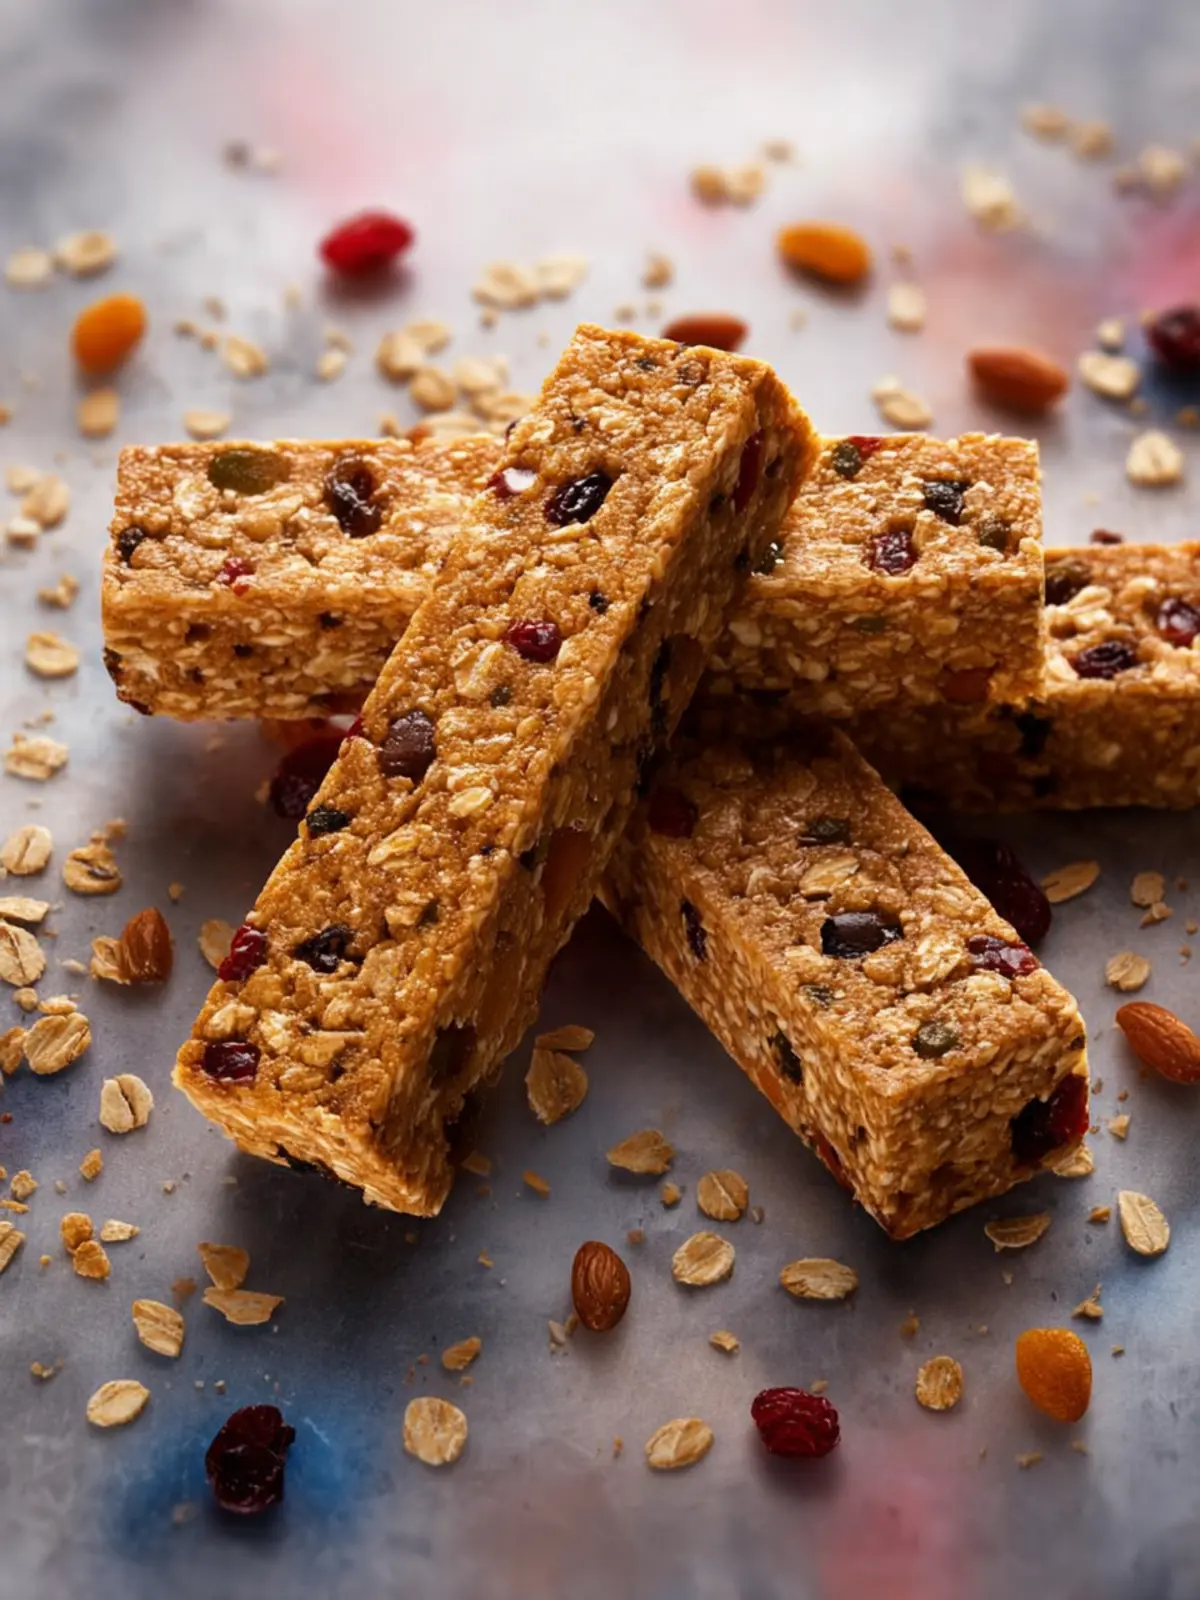
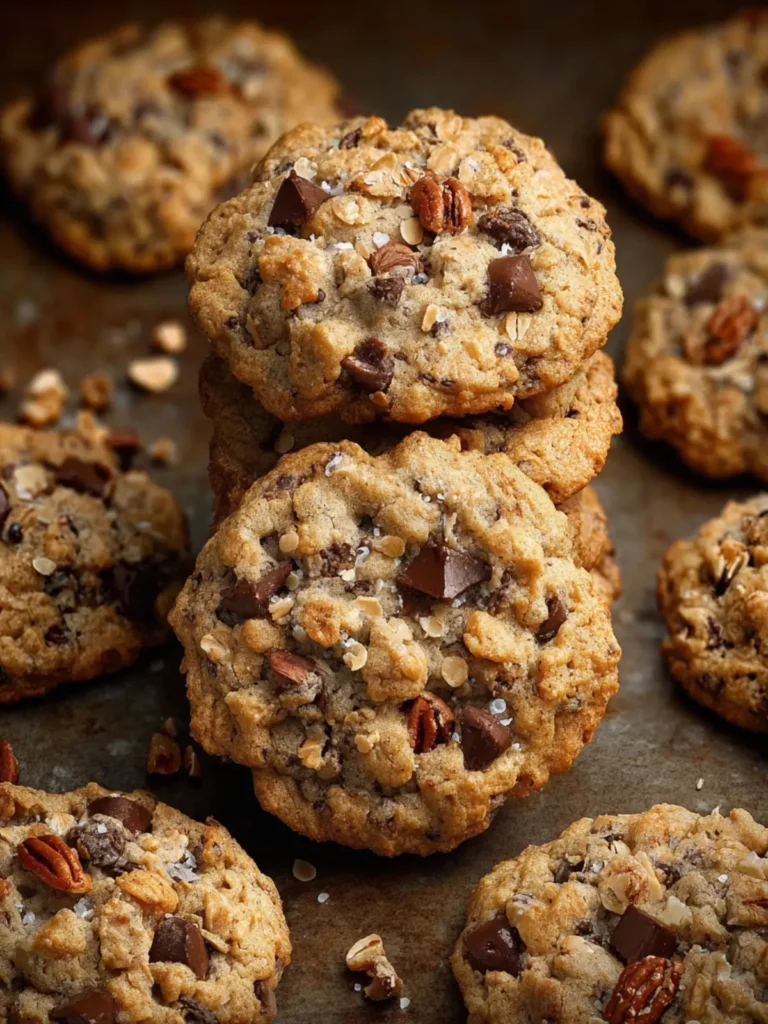
Gluten Free Granola Bars: Irresistibly Chewy & Nutty Treats
Introduction to Gluten Free Granola Bars
When you think of gluten free granola bars, imagine a delightful blend of textures and flavors that not only satisfies your cravings but also fuels your busy lifestyle. I still remember the moment a friend introduced me to her homemade granola bars, particularly because they were gluten-free. I was tired of the options available in stores, which often fell short in taste and nutrition. After that day, I set out on a mission to create a snack that was both delicious and suitable for my gluten-sensitive friends.
Whether you’re heading to work, embarking on an outdoor adventure, or simply looking for a nourishing snack at home, gluten free granola bars are the ultimate treat. They tick all the boxes: quick, easy to make, and packed with wholesome ingredients. Did you know that the global gluten-free snack market is projected to reach approximately $7.59 billion by 2027? This growing trend is evidence of a demand for snacks that cater to health-conscious individuals, and rightly so!
What Makes Gluten-Free Granola Bars the Perfect Snack?
-
Nutrient-Packed Ingredients: A typical gluten free granola bar is crafted with a variety of nutritious ingredients, such as oats, nuts, seeds, and dried fruits. These can provide essential vitamins, minerals, and fiber, making them a healthier choice than many conventional snacks.
-
Customizable to Your Taste: The beauty of making your own granola bars lies in their versatility. You can mix and match ingredients based on your preferences and dietary needs. Craving some chocolate? Add dark chocolate chips! Want a protein boost? Toss in some nut butter or protein powder. The opportunities are endless!
-
Convenience on the Go: Life can be hectic, but gluten free granola bars make it easy to stay nourished without compromising on flavor or health. They’re easy to pack and perfect for those moments when you need a quick energy boost.
In summary, creating delightful gluten free granola bars not only satisfies your cravings but also showcases your culinary creativity. So, let’s dive into the recipe and make some homemade bars that will become your new favorite snack!
Key Ingredients for Gluten Free Granola Bars
Oftentimes, the best moments in life come from the simplest combinations, just like crafting your own gluten free granola bars. These bars are not only delicious but also packed with nutrients, making them perfect for a quick snack or breakfast on the go.
Oats: Look for certified gluten-free oats to ensure your bars meet your dietary needs. These sturdy grains form the base, providing that satisfying chewiness.
Nuts and Seeds: A mix of your favorite nuts—like almonds or walnuts—along with seeds such as chia or flax can add wonderful texture and healthy fats. They also deliver that satisfying crunch.
Natural Sweeteners: I love using honey or maple syrup for the perfect touch of sweetness. These give the bars a delightful flavor while keeping them moist.
Nut Butter: Almond or peanut butter not only binds everything together but also amps up the protein content, making these bars even more fulfilling.
Flavor Enhancements: Adding vanilla extract or spices like cinnamon can really brighten up the overall taste, creating an irresistible treat.
By using these core ingredients, you can create your own unique twist on gluten free granola bars that perfectly suits your taste!
Why You’ll Love This Recipe
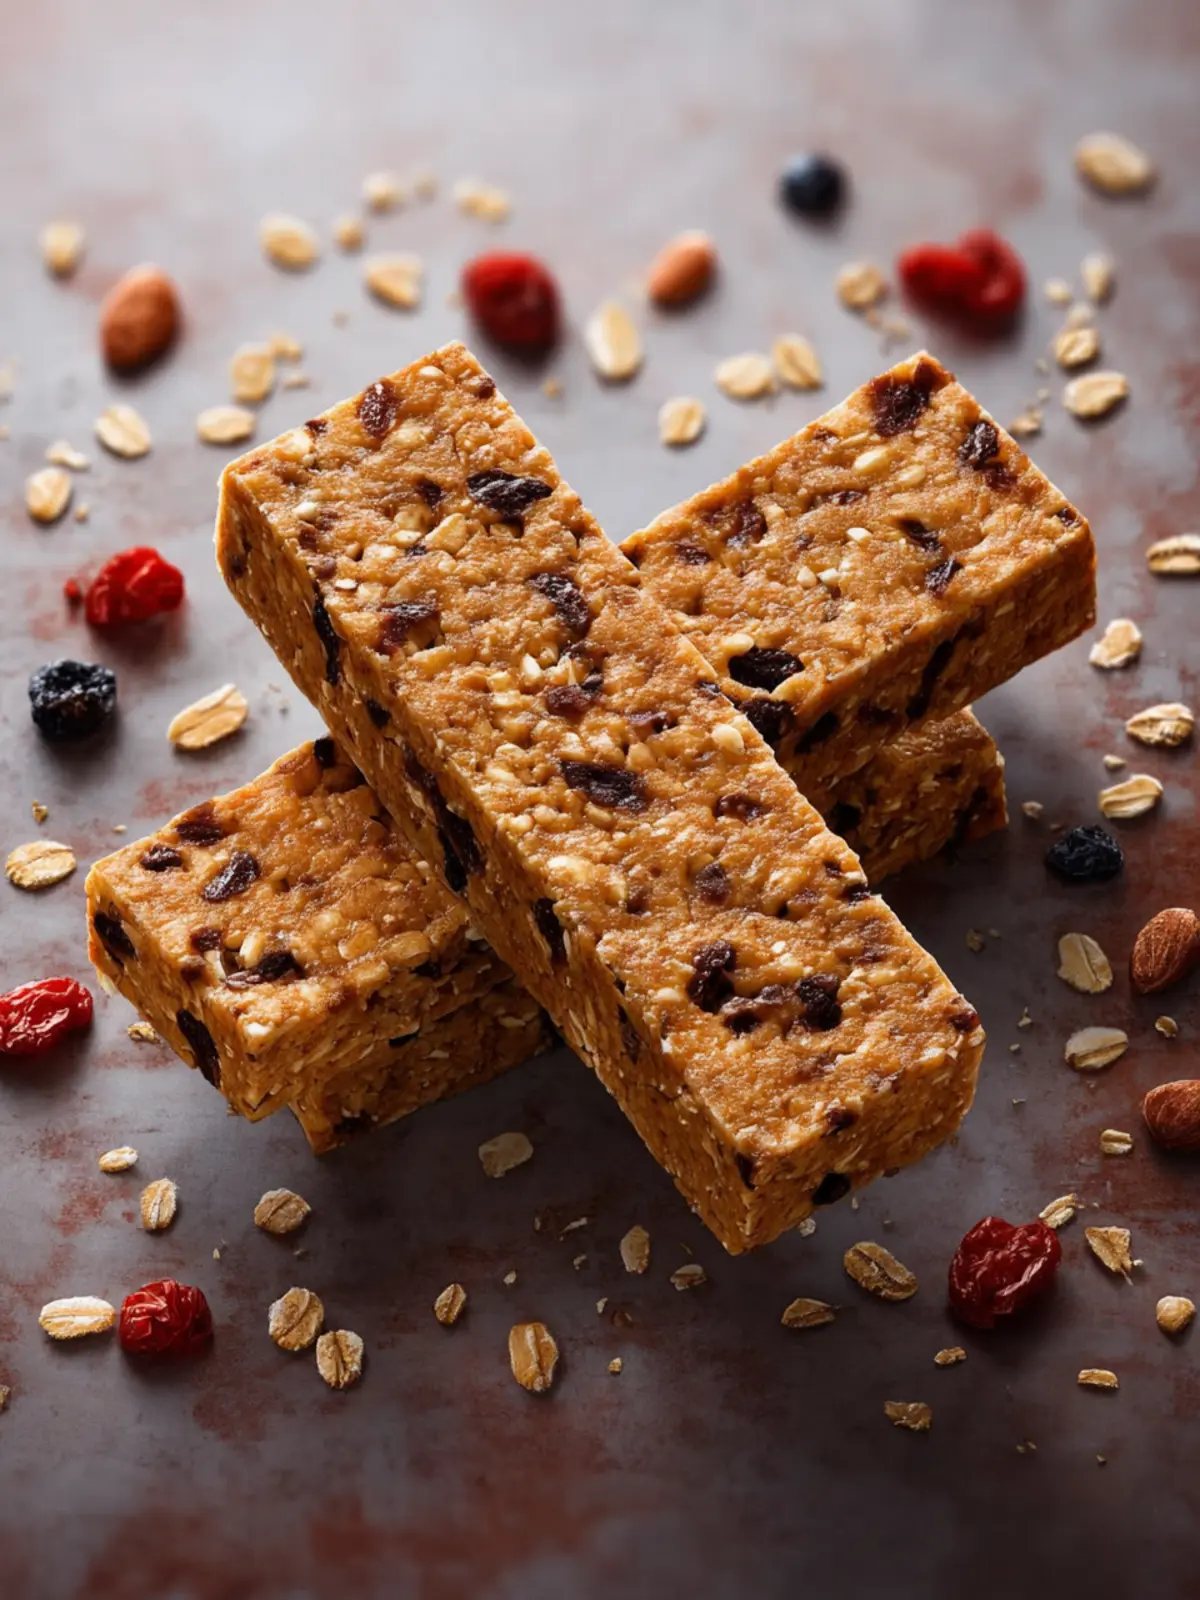
When you take a bite of these gluten free granola bars, you’re not just enjoying a delicious snack; you’re also indulging in a personal adventure of flavor and texture. I remember the first time I made these bars. The warmth of the oven filled my kitchen, and I couldn’t wait to take that first chewy bite, bursting with crunch and sweetness.
One of the best things about this recipe is how versatile it is. You can customize the ingredients to suit your own taste. Want a bit of chocolate? Toss in some dark chocolate chips. Prefer a hint of spice? A sprinkle of cinnamon or nutmeg can take the flavor profile to the next level.
Not to mention, these bars are perfect for busy professionals on the go. They’re easy to grab in the morning before rushing out or to stash in your bag for a quick energy boost during that afternoon slump. It’s the ideal combination of nutrition and taste, ensuring you’re fueling your body with wholesome ingredients without sacrificing flavor.
Plus, they’re made from pantry staples, meaning you can whip them up whenever the craving strikes. With the satisfaction of homemade goodness and the joy of knowing exactly what’s in your food, it’s hard not to love these gluten free granola bars!
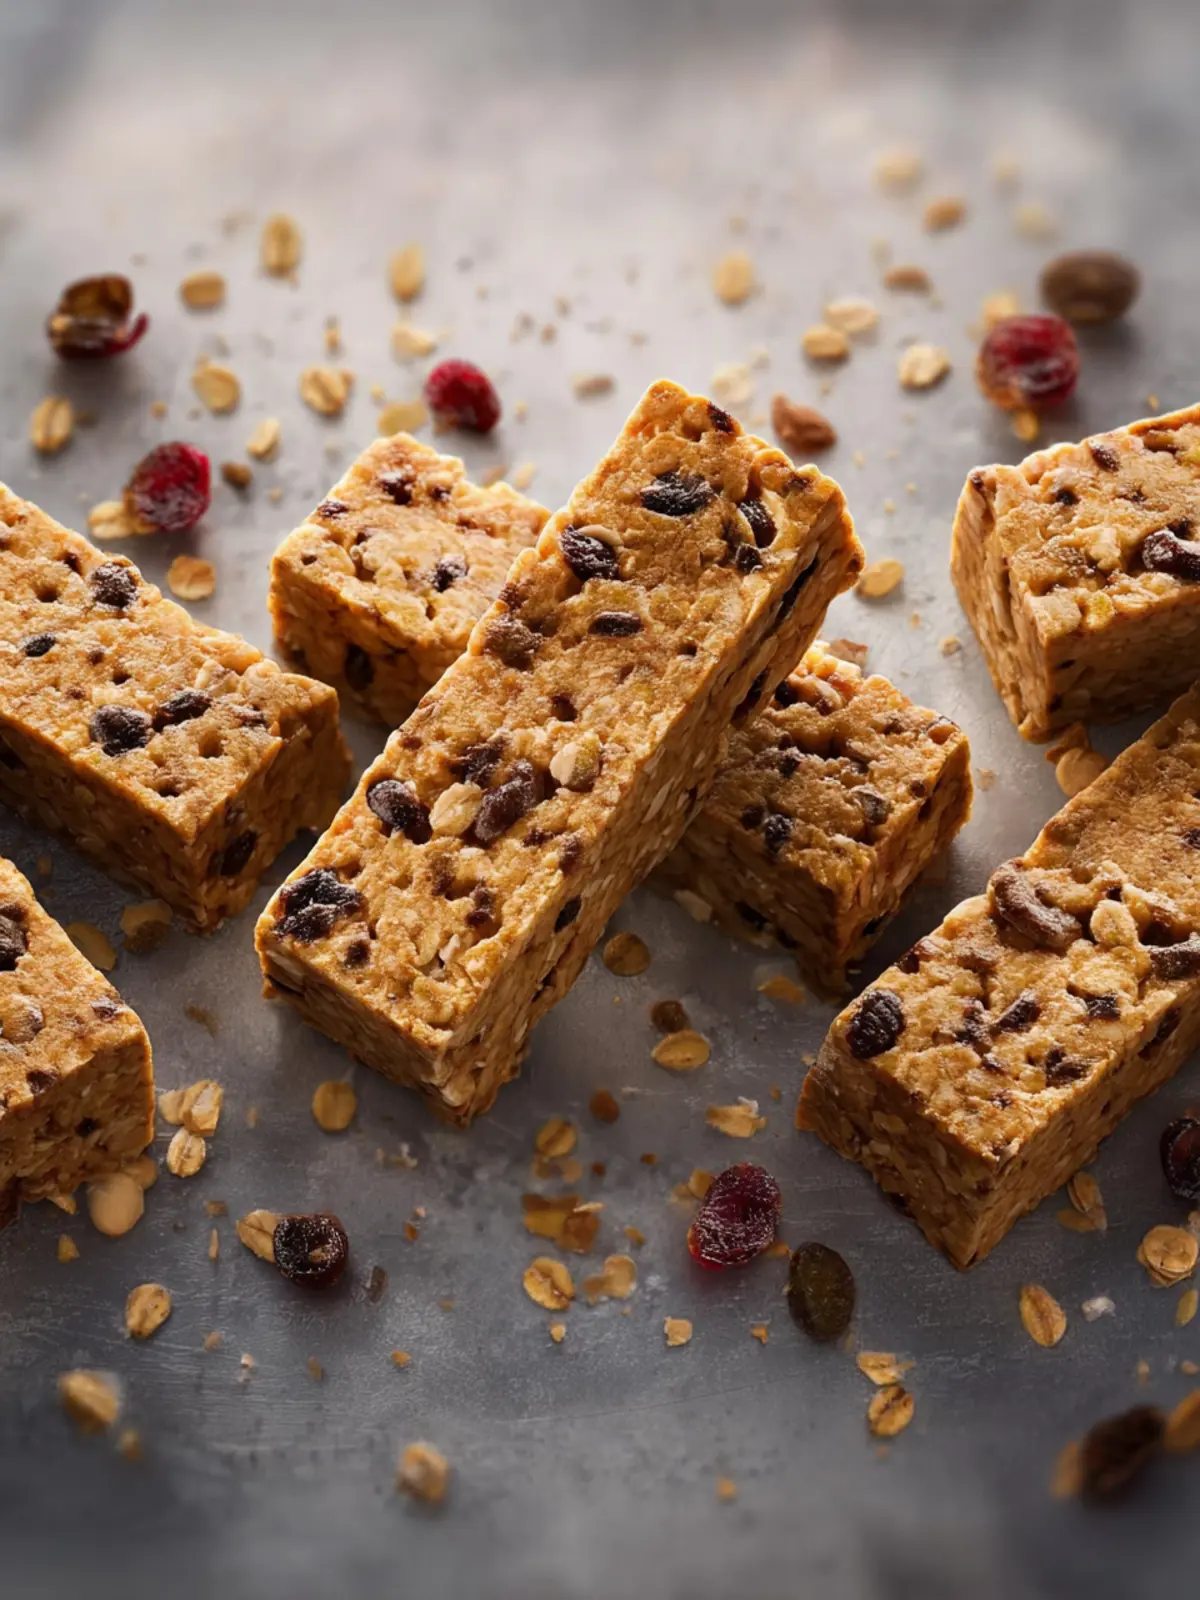
Variations on Gluten Free Granola Bars
Creating gluten free granola bars is more than just a delicious treat; it’s the perfect canvas for your imagination! Imagine grabbing a quick snack that’s not only satisfying but also tailored to your taste preferences. Here are some fun and flavorful variations to inspire your next batch.
Flavorful Add-Ins
- Nut Butter Swaps: Try swapping peanut butter for almond or cashew butter to create unique flavors. Each nut brings a distinct taste and texture that can elevate your bars.
- Dried Fruits: Instead of raisins, consider using dried cranberries, apricots, or even tart cherries. These add a wonderful chewiness and a burst of natural sweetness.
Crunchy Textures
- Nuts and Seeds: Go beyond the standard almonds or walnuts. Try adding sunflower seeds, pumpkin seeds, or pecans for a delightful crunch and to pack in more nutrients.
- Toasted Coconut: A handful of shredded coconut can add a tropical twist to your gluten free granola bars, enhancing both flavor and texture.
Sweeten it Up
- Different Sweeteners: Experiment with maple syrup, agave nectar, or honey to find your ideal sweetness level. Each option will impart its unique flavor profile to the bars.
The beauty of these variations is that you can combine them to craft your perfect gluten free granola bars! Get creative and enjoy the process of making a snack that’s entirely your own.
Cooking Tips and Notes for Gluten Free Granola Bars
Crafting gluten free granola bars is an exciting culinary adventure where you can infuse your personal touch with every batch. Whether you prefer chewy or crunchy, these bars can be customized to your taste. Here are some expert tips to ensure your granola bars turn out perfectly every time.
Choose the Right Nuts and Seeds
- Variety is Key: Use a mix of nuts and seeds for texture and nutrition. Almonds, walnuts, sunflower seeds, and pumpkin seeds contribute unique flavors and crunch.
- Roasted or Raw? Roasted nuts can impart a deeper flavor, while raw nuts offer a more subtle taste. Try experimenting with both.
Sweetener Matters
- Natural Sweeteners: Maple syrup or honey not only adds sweetness but also helps bind ingredients together. If you need a vegan option, agave syrup works well too.
- Sugar Levels: Keep in mind that different sweeteners can affect the final texture. When substituting, start with a smaller amount and adjust to your taste.
Adjust for Texture
- Binding Agents: To ensure your gluten free granola bars hold together, consider using nut butter. It adds creaminess and acts as a glue for all the ingredients.
- Don’t Skip the Chill: After mixing, pressing your mixture into a pan and refrigerating it helps solidify the bars, making them easier to cut.
Storage Tips
- Keep it Fresh: Store your bars in an airtight container at room temperature for up to a week. For longer storage, wrap them individually and freeze them, so you always have a quick snack on hand.
With these tips in mind, your gluten free granola bars will not only be delicious but also a healthy treat that you’ll enjoy sharing (or keeping all for yourself)!
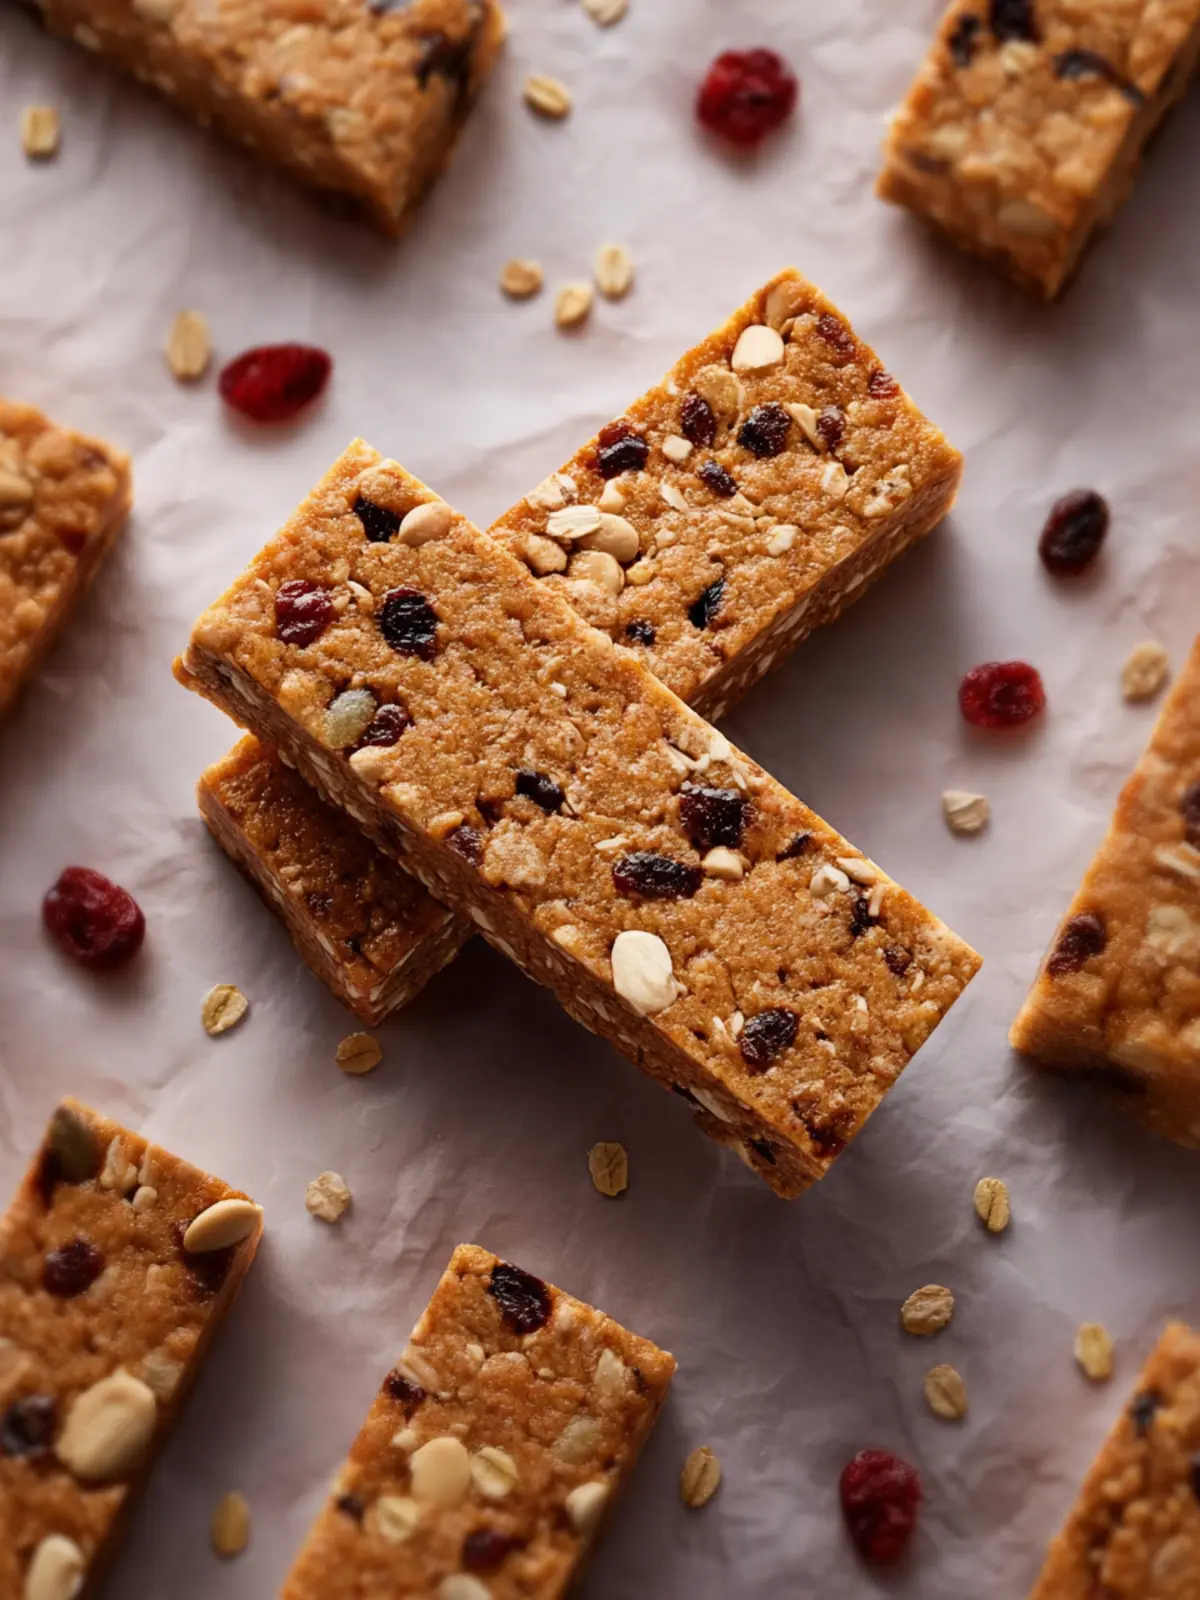
Serving Suggestions for Gluten Free Granola Bars
Crafting the perfect gluten free granola bars can be a delightful culinary adventure, and knowing how to serve them can make that experience even better. These bars are not just snacks; they can effortlessly transform into a meal or treat that suits any occasion.
Energizing Breakfast
Start your day right by crumbling a gluten free granola bar over a bowl of yogurt and fresh berries. This simple twist adds a fulfilling crunch and nutritional boost to your breakfast. You can customize it by adding a drizzle of honey or a sprinkle of cinnamon for extra flavor.
Mid-Morning Snack
Feeling that mid-morning slump? Pair your bar with a piece of fresh fruit, like an apple or banana, for a balanced snack that packs a punch of energy. The combined fiber from both the fruit and the granola bar will keep you satiated until lunchtime.
Share with Friends
Hosting a gathering? Slice your gluten free granola bars into bite-sized pieces to create a colorful platter that everyone can enjoy. Serve them alongside a selection of dips, such as almond butter or hummus, allowing guests to explore various flavor combinations.
On-the-Go Treat
For busy professionals, these bars are the perfect on-the-go snack. Toss one into your bag before heading out for the day. Whether you’re commuting or heading to a workout, they provide a quick and healthy boost of energy.
Remember, the versatility of gluten free granola bars means they can fit seamlessly into your lifestyle, offering nourishment and enjoyment in various ways.
Time Breakdown for Gluten Free Granola Bars
Creating delicious gluten free granola bars is not just about the final product; it’s also about the process that brings those mouthwatering bars to life. Here’s how to allocate your time efficiently to enjoy every step.
Preparation Time
Getting everything ready takes about 15 minutes. Gather your oats, nuts, and sweeteners, and you’ll be on your way to homemade goodness.
Chilling Time
After you’ve mixed all your ingredients, allowing the granola bars to chill for at least 2 hours ensures they set perfectly and hold their shape.
Total Time
All in all, you’re looking at a total of about 2 hours and 15 minutes from start to finish, including both preparation and chilling. Perfect for busy professionals who love a nutritious snack!
Nutritional Facts for Gluten Free Granola Bars
Understanding the nutritional benefits of gluten free granola bars can transform snack time into a guilt-free indulgence. These homemade bars offer a balance of delicious flavor and essential nutrients that fit seamlessly into a busy lifestyle.
Calories
Each gluten free granola bar packs approximately 200 calories, making it a satisfying yet light option for an on-the-go snack or a mid-afternoon pick-me-up.
Protein
Packed with protein, these bars contain around 6 grams per serving, primarily from nuts and seeds. This boost helps you stay energized and full longer, which is perfect for those busy days.
Fiber
With about 3 grams of fiber per bar, these gluten free granola bars aid in digestion and provide a feeling of fullness, contributing to overall gut health. Enjoy them as part of a balanced diet for sustained energy throughout the day!
FAQ about Gluten Free Granola Bars
When diving into the world of gluten free granola bars, it’s natural to have a few questions. Crafting your own bars at home can be a rewarding experience, but navigating the nuances can be a bit tricky. Here are some common questions and answers that might just clear things up for you.
How can I make the bars firmer?
If you’re looking for firmer gluten free granola bars, there are a few tricks to consider. First, increasing the amount of nut butter can create a denser texture; peanut butter or almond butter works well. You can also try adding a little more honey or maple syrup, as these natural sweeteners act as a binding agent. Lastly, pressing the mixture down more firmly into the pan before refrigerating will help set the bars better.
Can I replace peanut butter with another nut butter?
Absolutely! The beauty of homemade gluten free granola bars is their versatility. Almond butter, cashew butter, or sunflower seed butter are all excellent alternatives. Just keep in mind that each nut butter has its distinct flavor, which can slightly alter the final taste of your bars.
How long do the bars last?
Properly stored, your gluten free granola bars can last about a week at room temperature. For longer freshness, consider storing them in an airtight container in the fridge, where they’ll keep for up to two weeks.
Can I freeze gluten-free granola bars?
Yes, freezing is a great option! Wrap your gluten free granola bars tightly in plastic wrap or foil and place them in a freezer-safe bag or container. They can last for about three months in the freezer. Just thaw them in the fridge overnight before enjoying!
Conclusion on Gluten Free Granola Bars
Creating gluten free granola bars at home lets you embrace healthier snacking without sacrificing taste or texture. These bars, brimming with wholesome ingredients like oats, nuts, and dried fruits, are perfect for busy lifestyles or a quick energy boost. With easy customization options, you can cater them to your mood or dietary preferences.
Not only are they a fun kitchen project, but making your own bars can also save money compared to store-bought options. So, why not give this delicious recipe a try? Enjoy the satisfaction of crafting your own nutritious snacks that align with your health goals.
Print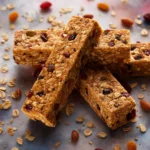
No-Bake Peanut Butter Oat Bars
- Total Time: 1 hour 15 mins
- Yield: 12 bars 1x
- Diet: Gluten-Free
Description
Delicious no-bake bars made with creamy peanut butter, honey, and gluten-free oats.
Ingredients
Scale
- 1 cup creamy peanut butter, nut or seed butter
- ⅔ cup honey
- 2 tsp pure vanilla extract
- ½ tsp ground cinnamon
- ¼ tsp salt
- 3½ cups gluten-free quick oats
- ¼ cup gluten-free mini chocolate chips (dairy-free use Enjoy Life mini chocolate chips)
Instructions
- Line an 8-inch by an 8-inch baking pan with parchment paper.
- In a large bowl, stir together the peanut butter, honey, pure vanilla extract, cinnamon, and salt until smooth.
- Add the gluten-free quick oats and mini chocolate chips. Stir until fully combined. The mixture will seem dry at first, but it’ll come together.
- Press the mixture firmly into the pan with your hands or a spatula. Use the back of a ¼ measuring cup to help flatten the mixture.
- Cover with plastic wrap and chill for at least 1 hour, then slice into bars.
Notes
- For best results, allow the bars to chill completely before cutting.
- Prep Time: 15 mins
- Category: Snacks
- Method: No-Bake
- Cuisine: American
Nutrition
- Serving Size: 1 bar
- Calories: 200
- Sugar: 10g
- Sodium: 50mg
- Fat: 10g
- Saturated Fat: 2.5g
- Unsaturated Fat: 7.5g
- Trans Fat: 0g
- Carbohydrates: 25g
- Fiber: 3g
- Protein: 5g
- Cholesterol: 0mg