Follow Me On Social Media!

Homemade Diaper Cream: The Best Soothing Solution for Baby’s Skin
Introduction to Homemade Diaper Cream
When you first experience the delicate skin of a baby, you quickly realize the importance of nurturing it with the gentlest care. That’s where homemade diaper cream enters the scene as a wonderfully nourishing alternative to store-bought options. Crafting your own diaper cream can be a satisfying journey in balancing safety, efficacy, and sustainability, all while ensuring your little one stays happy and comfortable.
Imagine the peace of mind that comes with knowing exactly what’s going onto your baby’s sensitive skin. Many store-bought diaper creams are filled with chemicals and preservatives, which can sometimes cause irritation. By choosing to make your own, you have full control over the ingredients, ensuring that they are as pure and skin-friendly as possible.
What makes homemade diaper cream a game-changer?
-
Natural Ingredients: Homemade diaper cream allows you to pick natural ingredients free from harmful chemicals. Common components like shea butter and coconut oil are not only safe but also packed with skin-loving nutrients that soothe and protect.
-
Cost-Effective: With just a few inexpensive ingredients, crafting homemade diaper cream can save you money over time. Creating larger batches means you can also give some away to friends, enhancing not only their parenting journey but also your connection as a community.
-
Customizable: Baby skin care needs can change, so why not tailor your diaper cream to suit those preferences? Adding essential oils for scent (while being mindful of any allergies) or adjusting the thickness can help you create a product that perfectly suits your baby’s needs.
-
Eco-Friendly: With a homemade option, you can reduce packaging waste and choose organic or sustainably sourced materials, making it an environmentally friendly choice—for your family and the planet.
Ultimately, making your own homemade diaper cream is a simple yet rewarding project that can enhance your parenting journey. It’s a perfect blend of care and creativity, ensuring you nurture your baby’s skin with love while promoting healthy practices in your home.
Key Ingredients for Homemade Diaper Cream
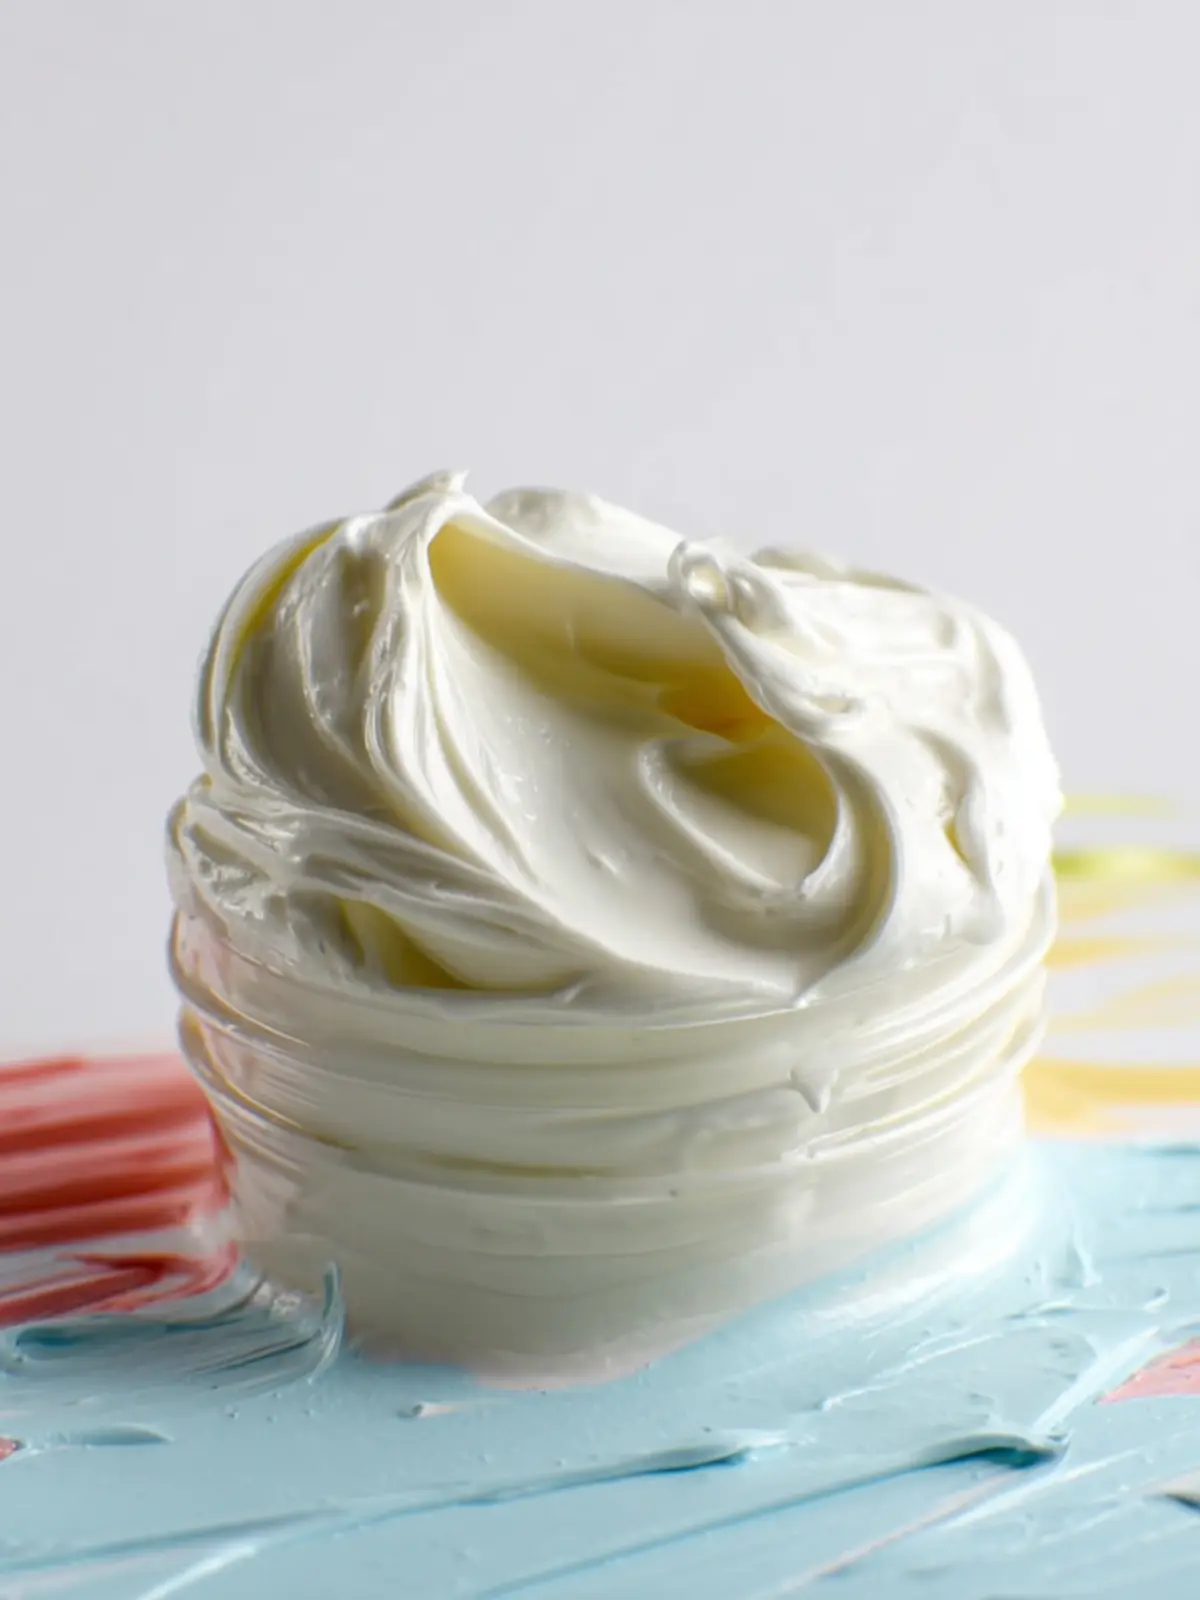
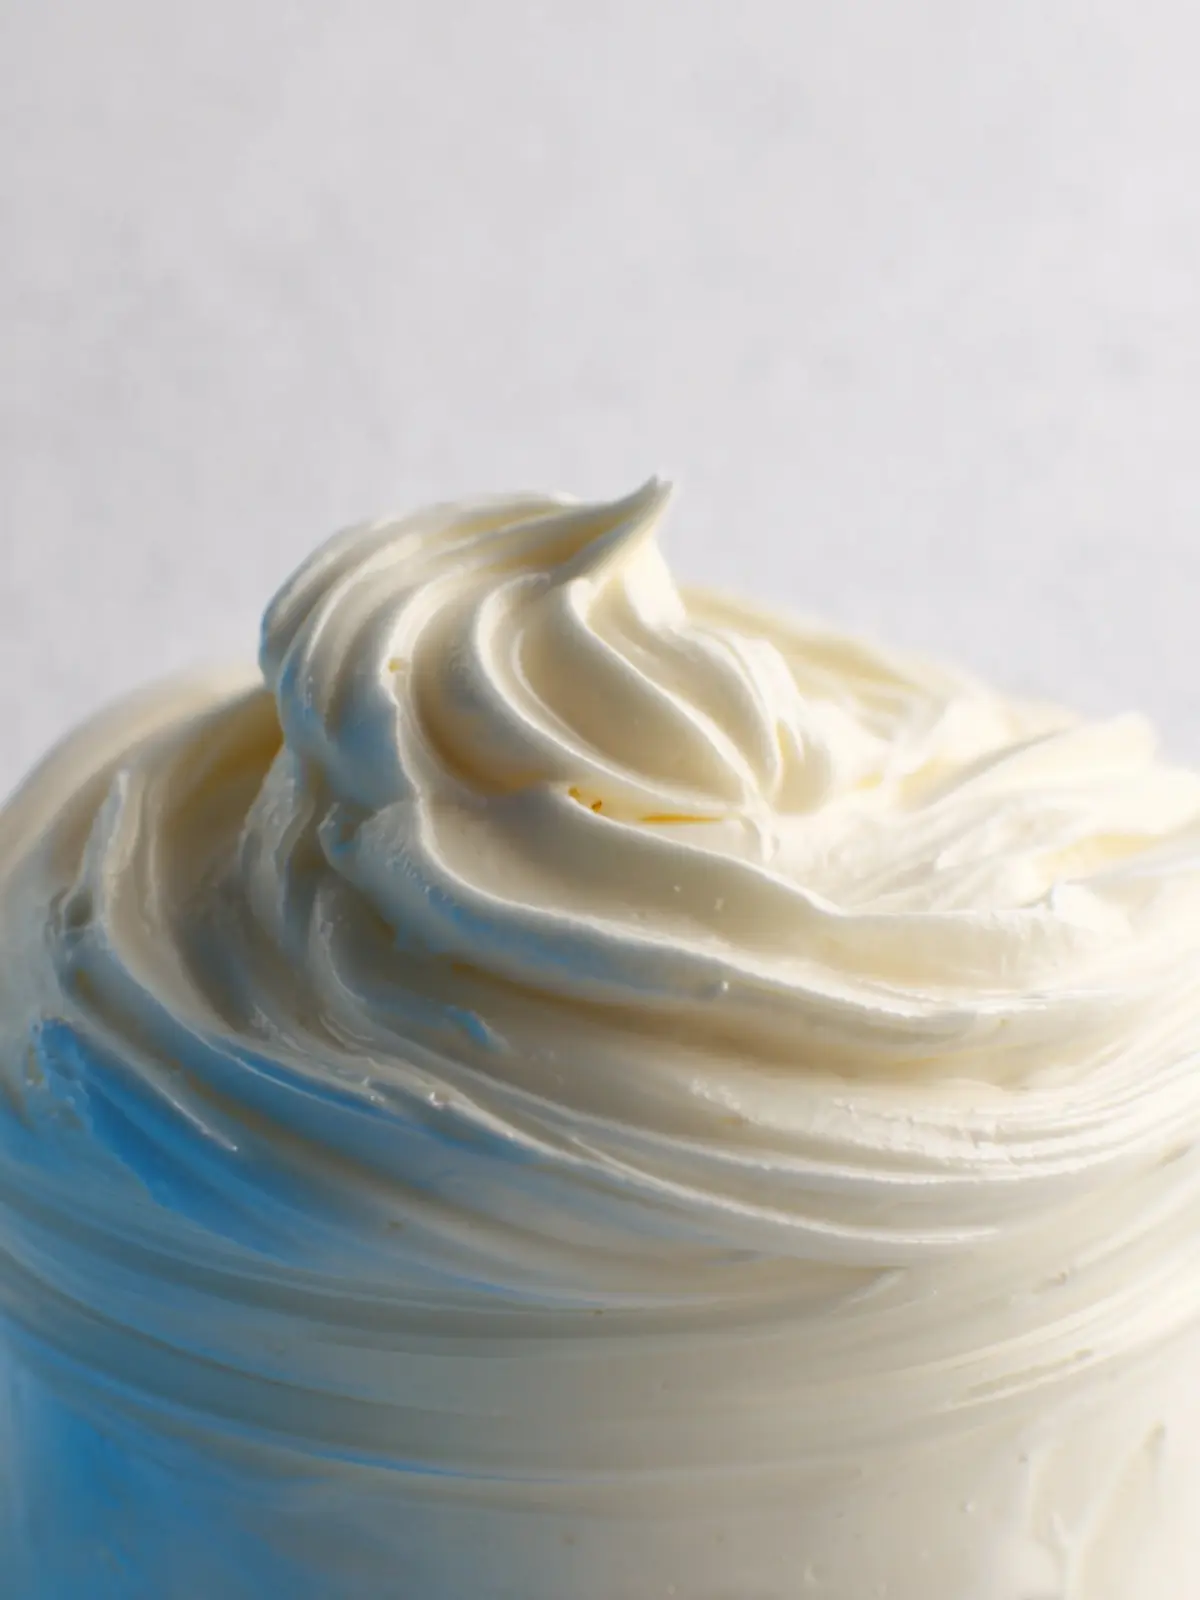
Crafting your own homemade diaper cream is a rewarding way to ensure your little one receives the safest and most effective protection. Let’s dive into the essential ingredients that make up your nurturing blend.
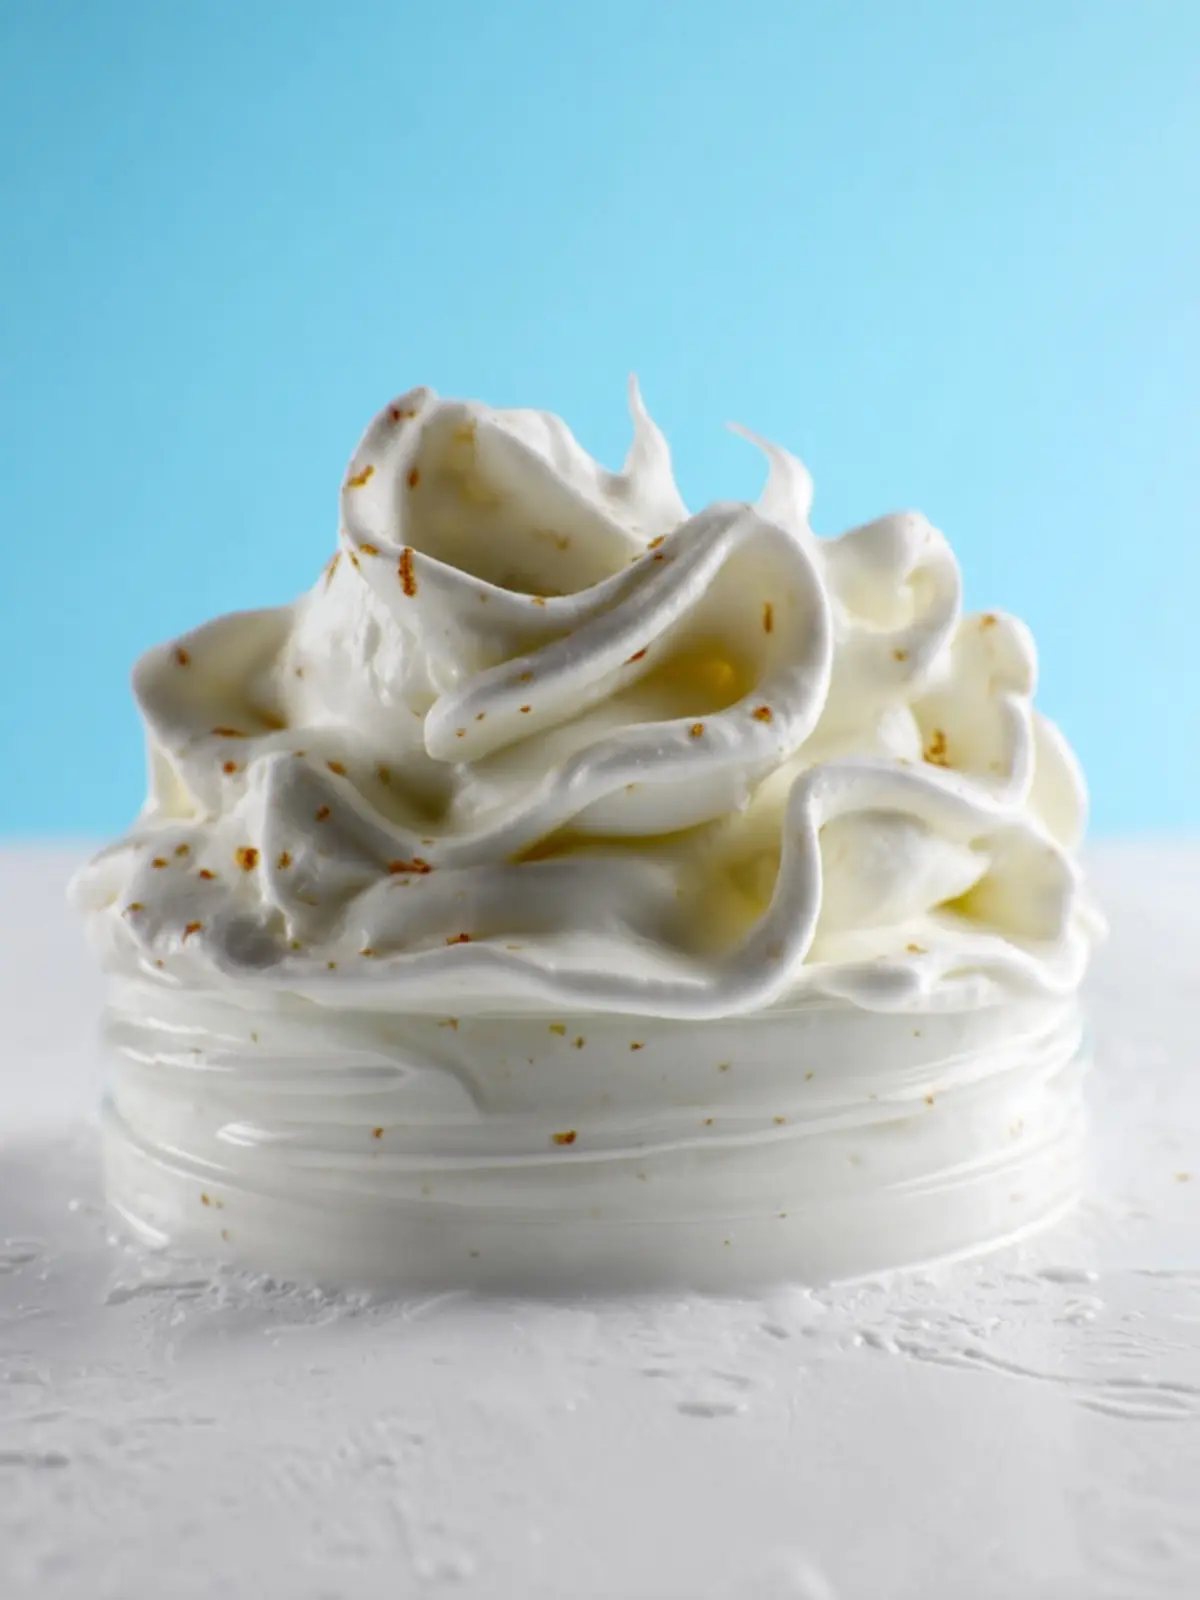
Coconut Oil: This is the star of the show! It’s naturally antibacterial and moisturizing, helping to soothe irritated skin while forming a protective barrier against dampness. I always choose organic, unrefined coconut oil; the gentle scent is a bonus!
Shea Butter: Rich and creamy, shea butter deeply nourishes and hydrates the skin. Its anti-inflammatory properties make it ideal for calming diaper rashes. I love how a little goes a long way, providing lasting hydration.
Beeswax: Used to thicken the cream, beeswax also helps to lock in moisture, creating a waterproof layer that shields against wetness. It’s a natural choice that has been used for centuries in skincare.
Essential Oils: I prefer using lavender or chamomile, known for their calming effects. Just a few drops can enhance the cream’s soothing properties, providing both protection and a gentle scent for your baby.
The beauty of making homemade diaper cream is that you can control what goes on your baby’s skin, ensuring it’s safe, natural, and effective.
Why You’ll Love This Homemade Diaper Cream
When you first experience the delicate skin of your little one, you quickly realize how important it is to keep it nurtured and protected. Homemade diaper cream becomes a trusted ally on this journey. Whipping up your own batch allows you to formulate a product that caters specifically to your baby’s tender skin without any harsh chemicals or unnecessary additives.
Creating your own homemade diaper cream means you have complete control over the ingredients. Using natural components like shea butter, coconut oil, and beeswax helps to keep your child’s skin moisturized while providing a protective barrier against rashes and irritation. These luxurious ingredients are not only effective but also eco-friendly, ensuring you’re being kind to the planet as well.
And let’s not forget the wonderful scent! Unlike commercial products, which often use synthetic fragrances, your homemade creation can have a subtle, natural aroma that calms both you and your baby. Plus, making diaper cream can be a fun activity—imagine the satisfaction of crafting something so essential from scratch!
So, why not embrace the simplicity and goodness of homemade diaper cream? Your baby’s skin will thank you.
Variations of Homemade Diaper Cream
Embracing the world of homemade diaper cream can feel like a delightful adventure, especially when experimenting with natural ingredients tailored to your baby’s sensitive skin. You might be surprised at how a few simple tweaks can freshen up your go-to recipe.
Naturally Healing Alternatives:
Adding soothing oils can enhance the protective qualities of your diaper cream. Consider incorporating:
- Calendula Oil: Known for its anti-inflammatory properties, calendula can help soothe diaper rash and promote healing.
- Lavender Essential Oil: A few drops can bring a calming scent, and its antiseptic benefits can aid in preventing skin irritation. Just be sure to dilute it well, as essential oils can be potent.
Butter vs. Coconut Oil:
While shea butter creates a rich, barrier-like consistency, you might find that substituting part of it with unrefined coconut oil adds a light, non-greasy texture. Coconut oil also possesses antimicrobial properties, making it perfect for protecting delicate skin.
Herbal Infusions:
Consider infusing your oil with herbs like chamomile or comfrey before blending it into your base. These can offer added healing benefits, utilizing nature’s confidence in soothing irritated skin.
By customizing your homemade diaper cream, you can create a personalized formula that resonates with your parenting journey, allowing you to nurture your baby’s skin with love and care.
Cooking Tips and Notes for Homemade Diaper Cream
Creating your own homemade diaper cream is not just an opportunity to save money, but it also provides peace of mind knowing exactly what goes into it. As a young parent, I often found myself overwhelmed by the array of products available at stores. Making diaper cream at home offered me a simple, natural solution.
Choosing the Right Oils
- Coconut Oil: This imparts a soothing effect while also providing natural antibacterial properties. Make sure you choose organic, virgin coconut oil to harness its full benefits.
- Olive Oil: Instead of regular olive oil, opt for extra virgin. Its rich composition helps in moisturizing delicate skin while helping to alleviate diaper rash.
Achieving the Perfect Consistency
- Beeswax: This is key to achieving a thick and protective layer. Experiment with the amount; too much beeswax can result in a cream that’s overly stiff, making it difficult to apply.
Storage Tips
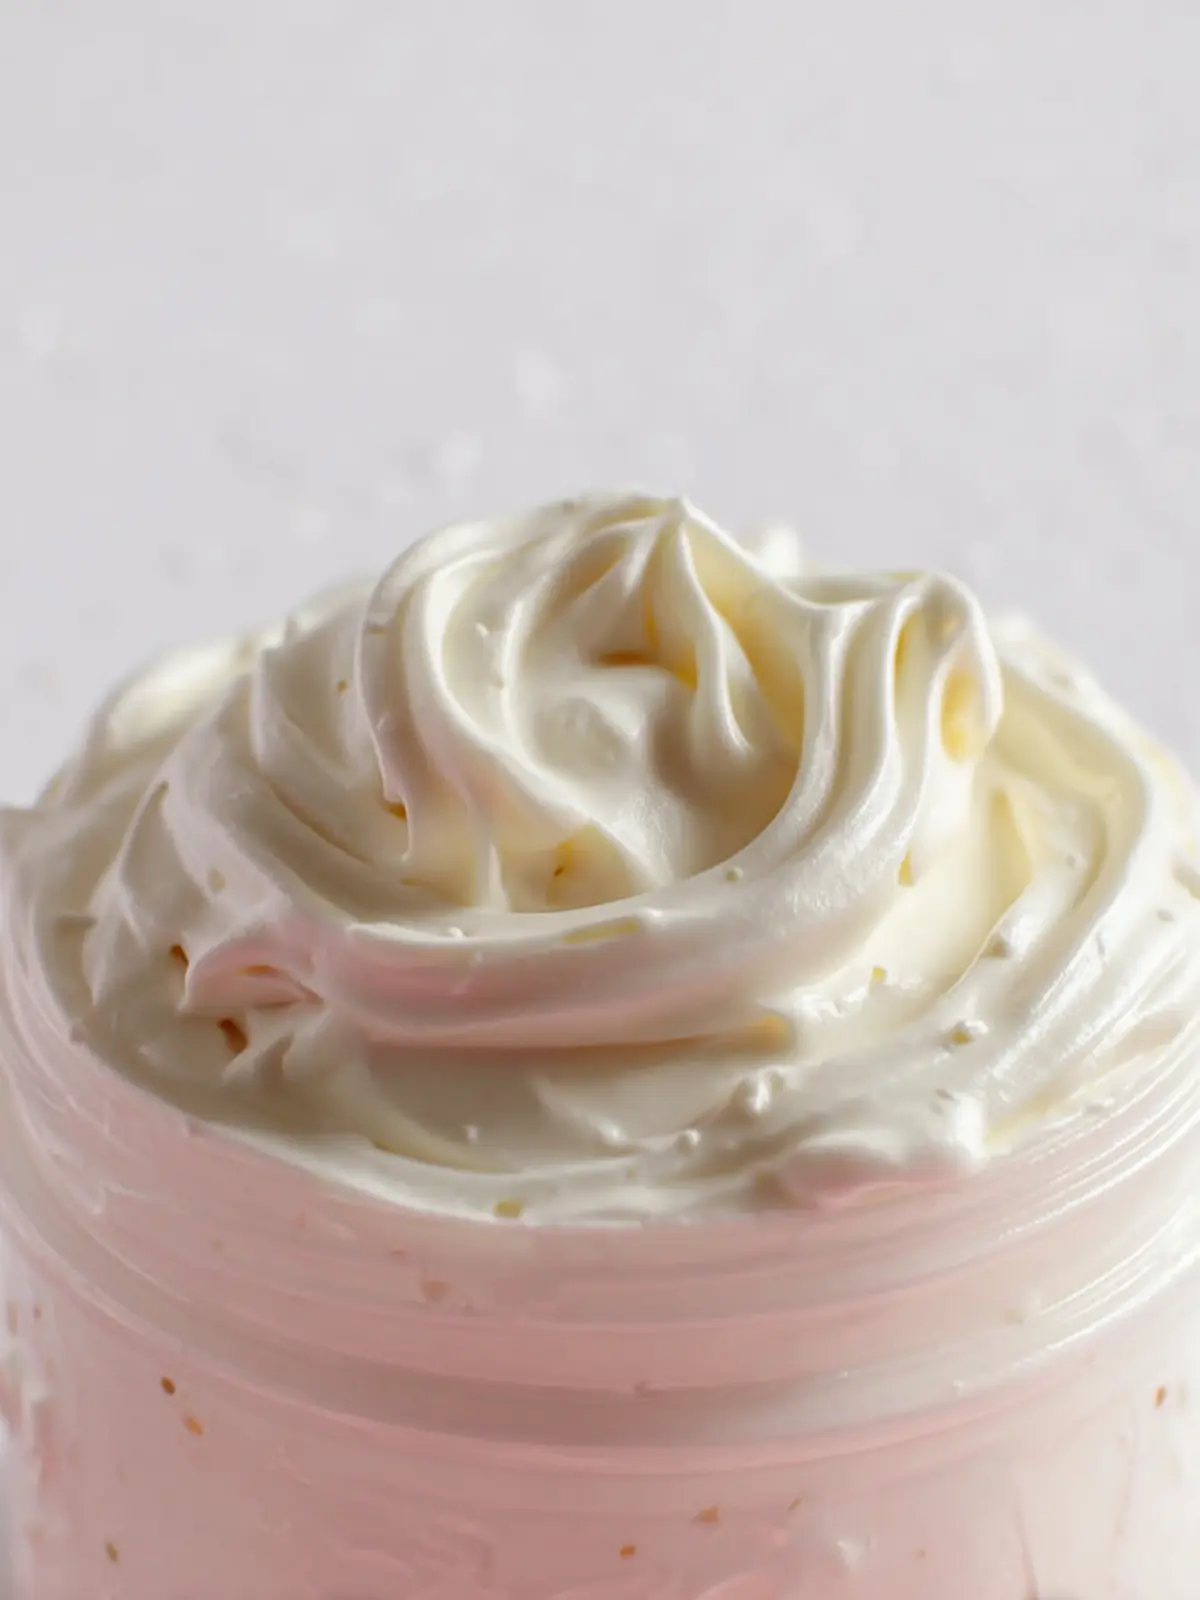
- Containers: Opt for small glass jars or tins with lids. They not only look aesthetically pleasing but also help keep the cream fresh and bacteria-free.
- Temperature: Store your homemade diaper cream in a cool, dry place to prolong its shelf life. The warmer it is, the quicker it may melt and lose its structure.
Personal Touch
Making homemade diaper cream also allows you to customize it. Consider adding a few drops of calming essential oils like lavender for additional relaxation during diaper changes. Just ensure you test for skin sensitivity first!
Serving Suggestions for Homemade Diaper Cream
Creating your own homemade diaper cream is a rewarding experience that not only protects your baby’s delicate skin but also allows you to customize the ingredients to suit your family’s needs. Here are a few ways to effectively utilize this soothing cream:
-
Daily Routine: Incorporate the homemade diaper cream into your daily diapering routine. Apply a thin layer at each change, especially if your baby is prone to rashes. This helps create a protective barrier against moisture.
-
Skin Soother: Beyond diapering, this cream can also be a great addition to your baby’s skincare regimen. Use it on dry patches or areas that rub against clothing to keep the skin smooth and irritation-free.
-
Travel Companion: Pack a small container of your homemade diaper cream for outings. Having it on hand makes it easier to address any diaper rash or irritation before it escalates.
These suggestions will help you maximize the benefits of your homemade diaper cream, keeping your baby comfortable and happy!
Time Breakdown for Homemade Diaper Cream
Creating your own homemade diaper cream not only ensures it’s gentle on your baby’s skin but also allows you to have full control over the ingredients. Let’s break down the time needed to whip up this nourishing blend, ensuring you can plan your crafting time accordingly.
Preparation Time
Getting started is quick and easy! You’ll need about 10 minutes to gather your ingredients and equipment, measure everything out, and combine the base components.
Infusion Time
For those richer, beneficial properties, consider an infusion time of 1 hour. This allows your oils to soak in and enhances the effectiveness of your homemade diaper cream. The wait is worthwhile, as it helps to maximize the soothing properties.
Total Time
Get ready in just 1 hour and 10 minutes! This total time includes both the preparation and infusion phases, making it a manageable task even for busy parents. You’ll be crafting a gentle remedy in no time, ready to safeguard your little one’s delicate skin.
Nutritional Facts for Homemade Diaper Cream
Creating your own homemade diaper cream can be a rewarding journey, offering a blend of safety and effectiveness for your baby’s sensitive skin. Understanding the key ingredients not only ensures you’re making the best choices for your child but also gives insight into the beneficial properties of each component.
Ingredients Breakdown
- Coconut Oil: This natural moisturizer helps to soothe and hydrate the skin while providing antibacterial properties.
- Shea Butter: Known for its rich, creamy texture, shea butter is excellent for healing and nourishing the skin, offering protection against dryness.
- Beeswax: Acting as a barrier, beeswax helps lock in moisture, making it perfect for protecting delicate areas from irritation.
- Essential Oils: If you choose to add them, ensure they are baby-safe. Oils like lavender can promote relaxation and have antiseptic properties.
Skin Benefits
The use of this homemade diaper cream can significantly reduce the chances of diaper rash. The gentle ingredients work synergistically to moisturize, protect, and heal, making diaper changes more comfortable. Plus, knowing exactly what’s in your cream means you can avoid harmful chemicals often found in commercial products. With this natural approach, you’re not just caring for your baby’s skin; you’re also nurturing a little piece of their well-being.
FAQs about Homemade Diaper Cream
Creating your own homemade diaper cream can feel like an exciting journey into natural parenting. Whether you’re looking to tailor a formula that works best for your baby’s delicate skin or just seeking a more natural alternative, questions often arise. Here are some common queries that many parents have when making their own diaper cream.
Is homemade diaper cream as effective as store-bought?
Many parents find that homemade diaper cream can be just as effective—if not more so—than commercial products. The key lies in selecting high-quality ingredients. Ingredients like shea butter, coconut oil, and beeswax not only soothe irritated skin but also form a protective barrier, preventing further rash. However, it’s essential to monitor your baby’s skin closely and adjust your recipe as needed.
How do you personalize your diaper cream?
One of the great perks of making homemade diaper cream is the ability to customize it according to your baby’s needs. You can experiment with various oils or add soothing essential oils like lavender or chamomile for extra comfort. Always perform a patch test to ensure your baby doesn’t have a sensitivity to any new ingredients.
How to store homemade diaper cream safely?
To maximize the shelf life of your homemade diaper cream, store it in a cool, dark place, preferably in an airtight container. Aim to use glass jars, as they don’t harbor bacteria like plastic can. Generally, if properly stored, you can expect your cream to last about 3 to 6 months. If you notice any unusual odor or changes in texture, it might be time to whip up a fresh batch!
Conclusion on Homemade Diaper Cream
Creating your own homemade diaper cream can be an empowering experience, enhancing your confidence as a caregiver. Not only does this blend of natural ingredients help soothe your baby’s skin, but it also allows you to sidestep chemicals found in many commercial products. Embracing this DIY approach can foster a more nurturing environment for your baby, leading to fewer rashes and healthier skin. Plus, making this cream can be a fun family activity, involving older siblings or even partners. With a simple recipe, you can ensure that every diaper change is a step towards comfort and care.
Print
Herbal Infused Oil
- Total Time: 30 days
- Yield: 4 ounces 1x
- Diet: N/A
Description
This herbal infused oil is perfect for skincare and body care applications, combining the benefits of various herbs with nourishing oils and butters.
Ingredients
Scale
- 1 cup carrier oil (avocado oil works well)
- 1/4 cup marshmallow root
- 1/4 cup lavender
- 1/4 cup calendula
- 1/4 cup chamomile
- 1/2 cup infused oil
- 1 tablespoon beeswax
- 3 tablespoons shea butter
- 2 tablespoons non nano zinc oxide
- 5–10 drops essential oil (optional)
Instructions
- Add each of the herbs into a glass jar. Pour the carrier oil on top of the herbs and screw on the lid. Allow herbs to infuse for 4 to 6 weeks, shaking every couple of days. Then strain. This is your herbal infused oil.
- Add the shea butter, infused oil, and beeswax to a heat-safe glass container. Slowly melt it in a double boiler or in the microwave, stirring frequently.
- Once completely melted, put the mixture in the fridge for about 30 minutes until it is fully hard.
- Put the mixture into a bowl and mix with a mixer. An immersion/stick blender works well for this, but you can also use a handheld electric mixer. Add in the non-nano zinc oxide. Make sure to mix it thoroughly.
- Add in the optional essential oils (if using) and stir once again.
- Pour into a 4-ounce glass jar or other container, and add the lid and a label.
Notes
- This herbal infused oil can be used as a base for lotions, balms, or as a skincare oil.
- Ensure all containers and tools are sanitized before use.
- Label the jar with the date to track the infusion period.
- Prep Time: 10 minutes
- Cook Time: 240 minutes
- Category: Skincare
- Method: Infusion
- Cuisine: N/A
Nutrition
- Serving Size: 1 tablespoon