Follow Me On Social Media!

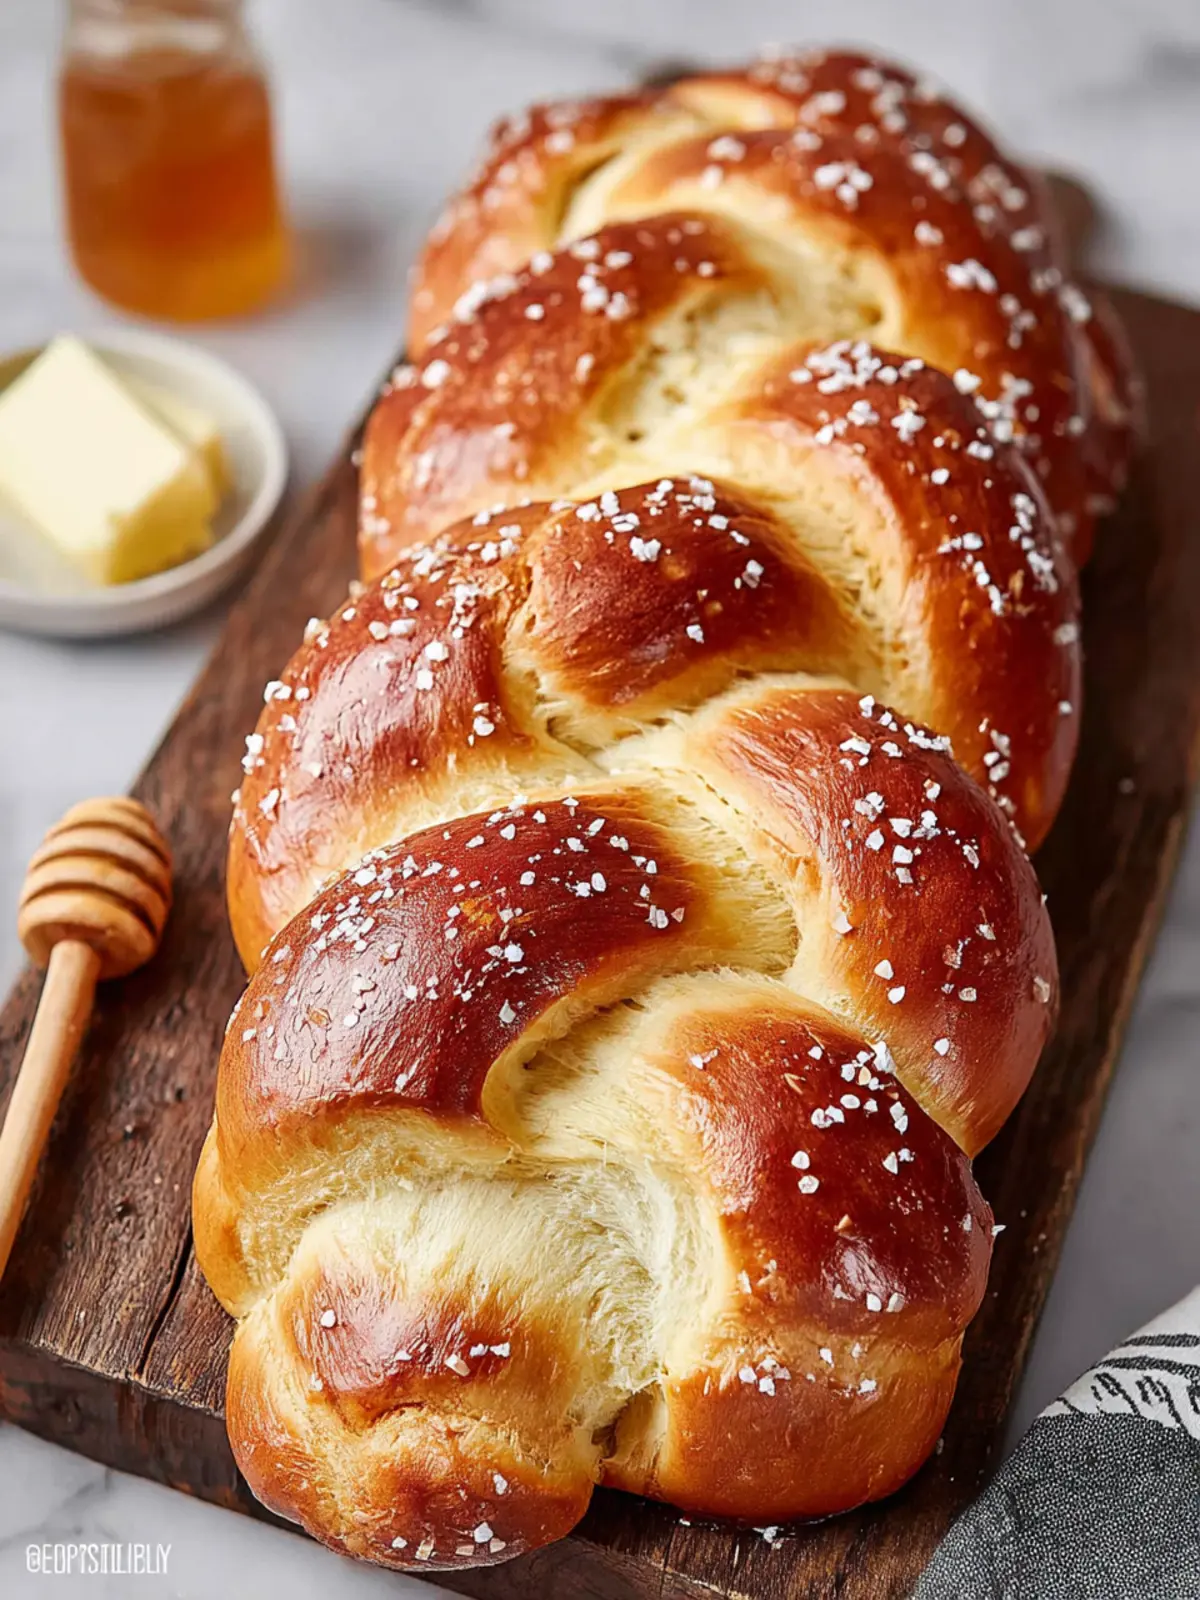
Challah Bread Bliss: The Best Homemade Recipe You’ll Love!
Introduction to Challah Bread
When you think of challah bread, what comes to mind? Perhaps the warm, inviting aroma of freshly baked bread wafting through your kitchen, evoking memories of family gatherings and festive celebrations. This beautifully braided bread is not just a treat for your taste buds; it carries profound cultural and religious significance. Originating from Jewish traditions, challah is often served on Shabbat and holidays, symbolizing peace and unity within families and communities.
A Brief History of Challah Bread and Its Significance
Challah bread dates back centuries, deeply rooted in Jewish history. The word “challah” itself refers to the portion of dough set aside for the priests in ancient times. Traditionally, this bread is made with simple yet wholesome ingredients—flour, water, yeast, and eggs—reflecting the agricultural practices of ancient communities.
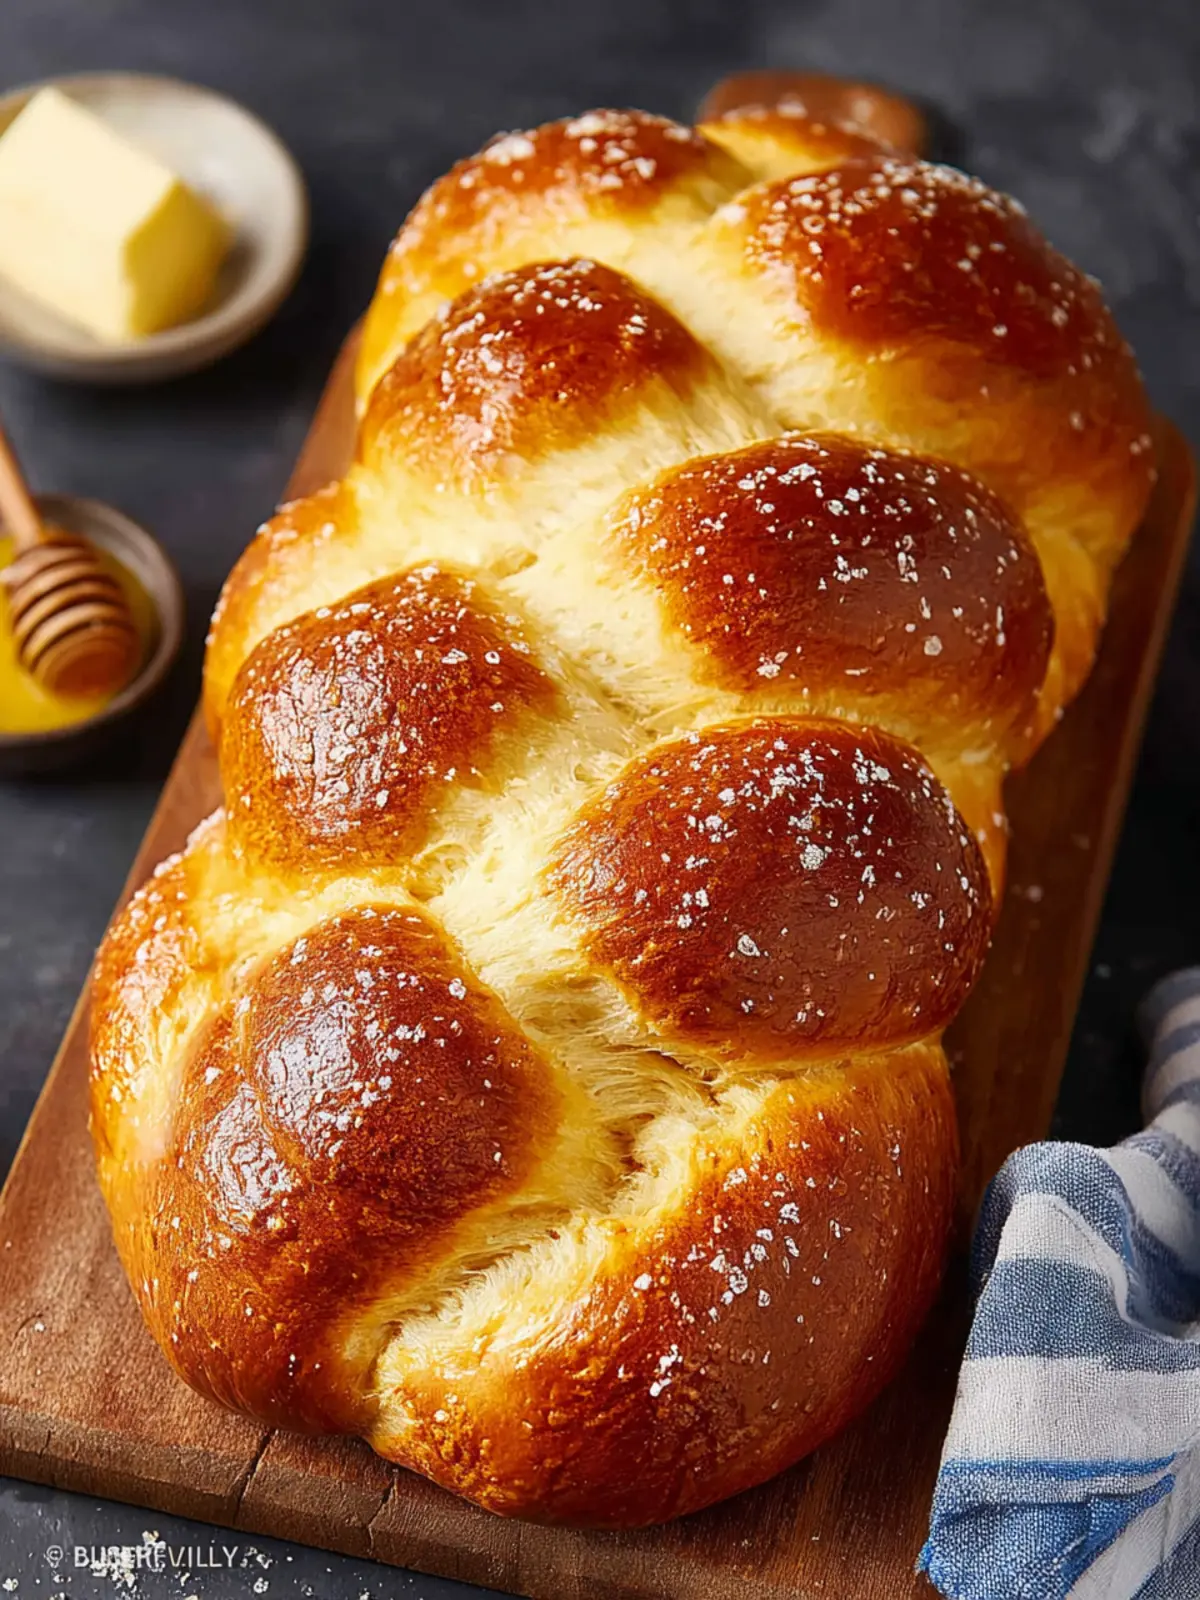
In Jewish homes, the practice of braiding the bread emerged as a way to create a visually appealing centerpiece for the Sabbath table. The three-strand braid symbolizes truth, peace, and justice, making it a powerful emblem of Jewish faith and tradition. Throughout history, challah has evolved, taking on various shapes and styles depending on cultural influences, yet it has always maintained its core significance.
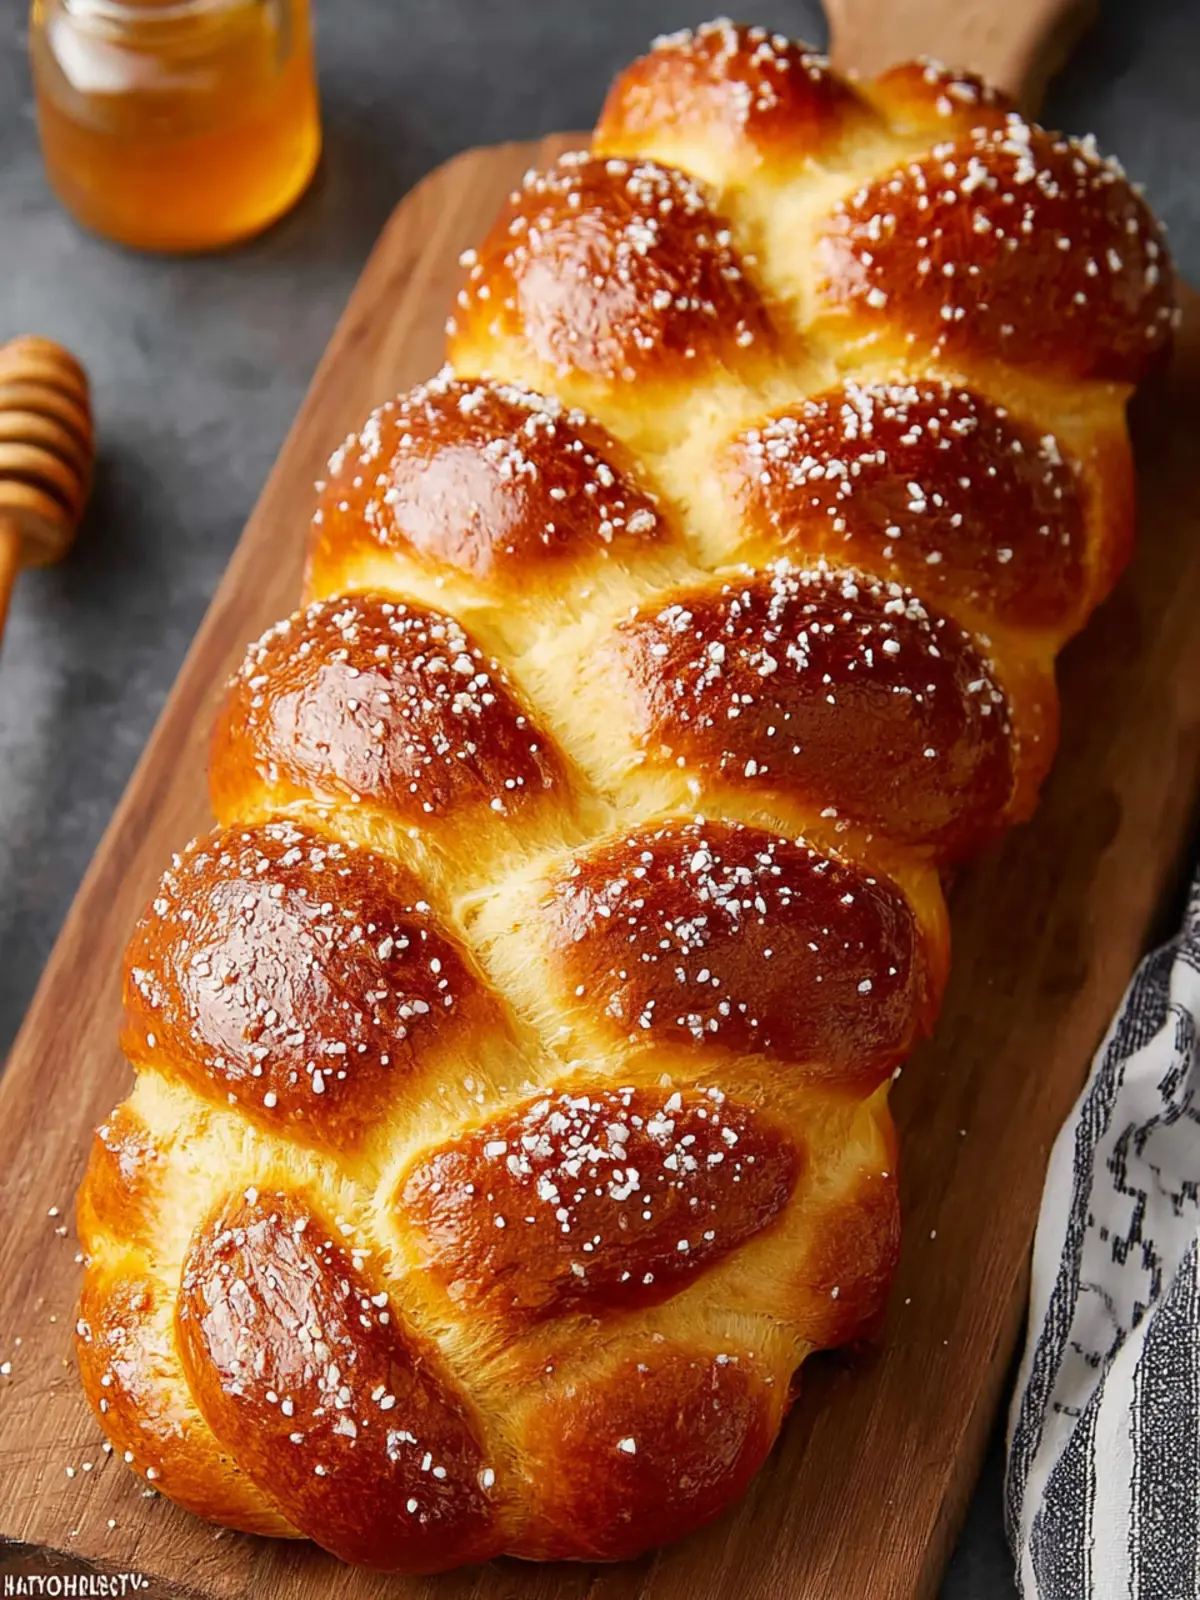
On festive occasions, like Rosh Hashanah or Hanukkah, challah bread is often adorned with seeds or sweetened with honey, elevating its flavor and enhancing its role as a symbol of blessings and abundance for the coming year.
Imagine gathering around the table with loved ones, tearing pieces of this delicious bread and sharing stories. Each bite connects you to tradition, a tapestry of history woven together through flavor and community. Whether you’re enjoying it fresh out of the oven or incorporating it into a delightful French toast, challah bread stands as a symbol of love, history, and celebration.
As you embark on your journey to create your own challah, you’ll not only be following a recipe but also participating in an ancient tradition that has brought joy to countless families through the years. Dive into this culinary adventure and discover the magic of challah bread for yourself!
Key Ingredients for Challah Bread
Challah bread brings warmth and tradition to the table, making every bite feel like a warm hug. As we dive into making this beautifully braided bread, let’s explore the key ingredients that make it so special.
-
Flour: The backbone of any bread, I prefer using all-purpose flour for its versatility. It provides the right balance of structure and softness, allowing for that perfect chewy texture.
-
Yeast: Fresh yeast is my go-to for this recipe, as it activates quickly and produces a delightful rise. Alternatively, you can use active dry yeast, just be sure to follow the conversion instructions for optimal results.
-
Eggs: Rich and golden, eggs provide moisture and contribute to that lovely, rich flavor. I usually incorporate a couple of eggs directly into the dough and use one for an egg wash, enhancing the wonderful golden-brown crust.
-
Sugar: A touch of sugar not only sweetens the bread but also supports fermentation. It helps the yeast do its job while adding a slight sweetness that balances the flavors.
-
Salt: Don’t overlook salt; it’s essential for flavor enhancement. It also controls yeast growth, ensuring our dough rises just right.
-
Oil: I opt for a neutral oil like canola to keep the flavor profile clean. This adds moisture and tenderness to the dough, making the challah bread soft and fluffy.
Each ingredient plays a vital role in creating that perfect loaf of challah bread, so take your time, and enjoy the process!
Why You’ll Love This Challah Bread
Challah bread isn’t just a meal; it’s a delightful experience that brings people together. Imagine the warm, inviting aroma wafting through your kitchen as you bake this beautiful, braided loaf. Whether you’re breaking bread with family or sharing slices with friends, challah adds a touch of warmth that makes any occasion special.
Great for Family Gatherings
One of the best aspects of challah bread is its versatility at family gatherings. Serve it fresh out of the oven for an enchanting addition to your meal, or use it as a base for a gorgeous table centerpiece. It’s perfect for creating memorable moments, from heartfelt conversations to laughter-filled dinners.
Perfect for Various Uses
Do you enjoy breakfast treats or perhaps a hearty lunch? Challah bread shines through in numerous ways. Picture indulging in French toast made with slices of this fluffy bread, or crafting a gourmet sandwich that makes your taste buds dance—it’s a delicious canvas for culinary creativity!
Simple Yet Satisfying Process
What truly sets challah apart is the joy found in its creation. Making this bread is a straightforward process that even novice bakers can tackle. Kneading the dough and watching it rise is as rewarding as the final product itself. You’ll be amazed at how a few simple ingredients transform into a beautiful loaf that you can proudly share.
Make this challah bread your next baking adventure and discover why it’s loved by so many!
Tips for Making Perfect Challah Bread
Baking a beautiful loaf of challah bread is a culinary journey that brings warmth and joy to your kitchen. Here are some essential tips to elevate your bread-making game.
Mastering the Kneading Techniques for Ideal Texture
Achieving the perfect texture in your challah bread relies heavily on proper kneading. Aim for about 10 minutes of kneading by hand or 5-7 minutes using a stand mixer. The dough should be smooth and elastic—if it feels too tacky, don’t hesitate to sprinkle in a bit more flour. Remember, the dough will also continue to absorb moisture while it rises.
Emphasizing the Importance of Letting the Dough Rise
Patience is key when making challah bread. Allowing the dough to rise for at least an hour—not just until it doubles—ensures a light, airy loaf. Consider covering the bowl with a damp cloth to maintain moisture, creating the perfect environment for the yeast to work its magic.
Effective Ways to Prevent Excessive Stickiness
Is your dough feeling overly sticky? A common issue! To combat this, generously flour your work surface and hands before shaping. You can also lightly oil your hands, which prevents the dough from sticking while kneading and shaping. If your dough is too sticky to handle comfortably, adding small increments of flour will help restore balance.
With these tips, your challah bread will not only rise beautifully but also taste deliciously homemade!
Time Details for Challah Bread
When you embark on making challah bread, the beauty of the process lies in its timing as much as its ingredients. Here’s a helpful breakdown to guide you through.
Preparation time
Prepare to invest about 20-30 minutes gathering ingredients, mixing, and kneading the dough. It’s a labor of love that rewards you with delightful bread.
Rising time
The dough will need approximately 1.5 to 2 hours to rise. Take this time to unwind and perhaps enjoy a good book or your favorite podcast!
Baking time
Once your dough has risen perfectly, the baking itself will take about 30-40 minutes. The sweet aroma will fill your kitchen and bring everyone to the table.
Total time
In total, expect to spend around 2.5 to 3 hours from start to finish. While some of that is waiting time, the delicious result is worth every minute!
Nutritional Information for Challah Bread
Understanding the nutritional information for challah bread can help you make informed choices while enjoying this delightful treat. It’s fascinating how a simple loaf can pack a variety of benefits!
Calories
A slice of homemade challah bread typically contains around 120-150 calories, making it a satisfying choice for breakfast or as a snack without breaking your daily calorie budget.
Carbohydrates
This bread is rich in carbohydrates, with about 25-30 grams per slice. Carbs provide the energy you need to fuel your busy day, perfect for young professionals on the go!
Protein
With 3-5 grams of protein per slice, challah bread can contribute to your daily protein intake, which is essential for muscle maintenance and overall health.
Fats
On the fat front, challah contains around 2-4 grams per slice, primarily from eggs and butter, providing a rich flavor as well as beneficial fats that can support heart health.
This balanced nutritional profile makes challah bread not only a tasty addition to your meals but also a versatile one!
FAQs about Challah Bread
Challah bread, with its sweet, braided appearance and soft, airy texture, is often a centerpiece at family gatherings and special occasions. After enjoying this delightful bread, you might have a few questions buzzing in your mind.
Can I make Challah bread ahead of time?
Absolutely! You can prepare your challah bread dough ahead of time. After the first rise, simply punch it down and refrigerate it until you’re ready to braid and bake. This can be done up to 24 hours in advance. Just be sure to bring the dough back to room temperature before proceeding with the braiding.
How do I store leftover Challah bread?
To keep your challah bread fresh, wrap it tightly in plastic wrap or store it in an airtight container at room temperature. It’ll stay good for a couple of days. If you want to enjoy it longer, consider slicing it and freezing those pieces. When you’re ready to eat, just toast them or let them thaw at room temperature.
What alternatives can I use for ingredients?
If you’re looking for substitutions, you’re in luck! Instead of all-purpose flour, you can use bread flour for a chewier texture. Honey is a fantastic alternative to sugar for a more natural sweetness, and if you need a vegan option, replace eggs with flaxseed meal mixed with water or applesauce.
Can I add toppings to my Challah?
Certainly! Toppings can elevate your challah bread experience. Try sprinkling sesame or poppy seeds on the top before baking. You can also experiment with cinnamon sugar for a touch of sweetness or even a savory topping like kosher salt for a delightful twist.
Each of these tips can enhance your challah experience, making it uniquely yours while keeping its delicious essence intact. Happy baking!
Conclusion on Challah Bread
Embracing the art of making challah bread is more than just baking; it’s a celebration of culture and tradition. The soft, braided loaf is perfect for sharing with loved ones during special occasions or simply enjoying as a comforting treat. Each ingredient—whether it’s the eggs that enrich the dough or the sugar that adds sweetness—plays a crucial role in creating that delightful texture and flavor. As you master this recipe, you’ll not only fill your home with the warm aroma of freshly baked bread but also create lasting memories around the table. So, roll up your sleeves, and let the challah adventure begin!
Print
Braided Bread
- Total Time: 2 hours 30 minutes
- Yield: 2 loaves 1x
- Diet: Vegetarian
Description
Delicious homemade braided bread, perfect for any occasion!
Ingredients
Scale
- 2 cups lukewarm water (around 105-110°F)
- 2 tablespoons active dry yeast
- 1 tablespoon granulated sugar
- 7 cups all-purpose flour (spooned and leveled, plus more if needed)
- 1/2 cup granulated sugar
- 1 tablespoon kosher salt
- 4 large eggs (beaten)
- 1/2 cup unsalted butter (melted, see note below for kosher alternative)
- 1 tablespoon vegetable oil (to grease bowls)
- 2 eggs (beaten with 2 tablespoons water for egg wash, you may not need it all)
- poppy seeds and/or sesame seeds (for topping, optional)
Instructions
- In a small bowl, sprinkle the yeast over the warm water and add the 1 tablespoon sugar. Let bloom until a frothy layer develops on top; about 5 minutes. (If the yeast doesn’t foam, it isn’t good anymore. Toss it and start over.)
- In a large bowl, whisk together the flour, 1/2 cup sugar, and salt. Make a well in the center and add the eggs and melted butter. Mix together with a wooden spoon, pulling in a little flour at a time from the sides of the bowl. Stir in the yeast mixture. Mix to combine until a shaggy dough is formed.
- Turn out onto a lightly floured work surface and knead well for about 6-8 minutes. If the dough is very sticky, work in a teaspoon of flour at a time until the dough is smooth, pliable, not wet, and holds a ball-shape.
- Divide dough evenly in half.
- Lightly oil the inside of two large bowls. Place dough inside each one; cover with plastic wrap in a warm, draft-free place. Let rise until doubled in size, 60-90 minutes.
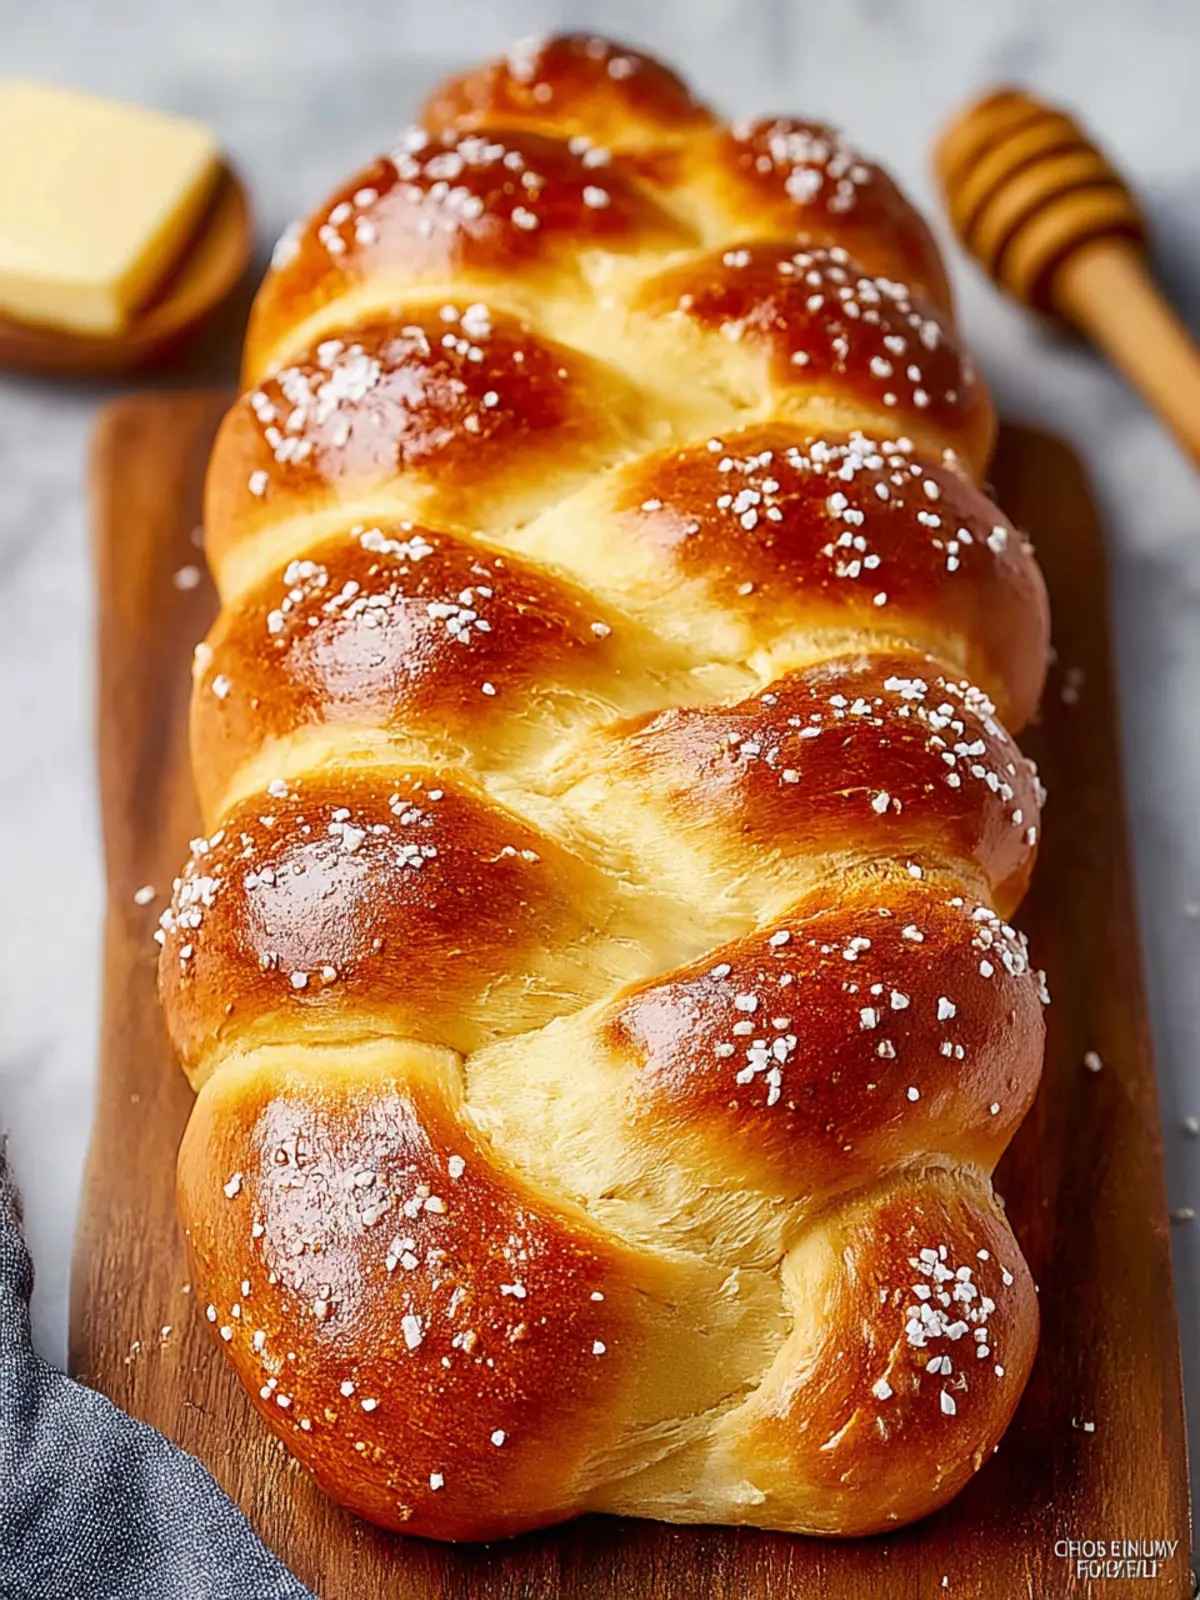
- Working with one mound of dough at a time, punch down dough and separate into 3 equal parts. Roll each piece of dough into long ropes about 16 inches long and 1-inch thick. (If the ropes shrink as you try to roll them, let them rest for 5 minutes to relax the gluten and then try again.) Gather the 3 strands and squeeze them together at the top. Then snugly braid together as if you were braiding hair and squeeze the bottom ends together when done to secure.
- Repeat with the other mound of dough.
- Gently transfer each braid to parchment-lined baking sheets. Cover with a clean dish towel and allow to rise until double in size and pillowy, about 1 hour.
- Preheat oven to 350 degrees F with the rack in the center position.
- Brush both loaves all over with the egg wash, making sure to get in the cracks and along the sides of the loaf. If desired, sprinkle one loaf with some poppy seeds and the other with some sesame seeds.
- Bake for about 30-35 minutes, rotating the baking sheets halfway through, until deep golden brown and registers 190°F in the very middle with an instant-read thermometer.
- Remove from the oven and allow to cool until just slightly warm. Slice and enjoy on its own or with a slab of butter!
Notes
- For a kosher version, substitute unsalted butter with margarine.
- Prep Time: 20 minutes
- Cook Time: 35 minutes
- Category: Bread
- Method: Baking
- Cuisine: American
Nutrition
- Serving Size: 1 slice
- Calories: 200
- Sugar: 2g
- Sodium: 200mg
- Fat: 8g
- Saturated Fat: 5g
- Unsaturated Fat: 2g
- Trans Fat: 0g
- Carbohydrates: 30g
- Fiber: 1g
- Protein: 6g
- Cholesterol: 30mg